downloads and instructions
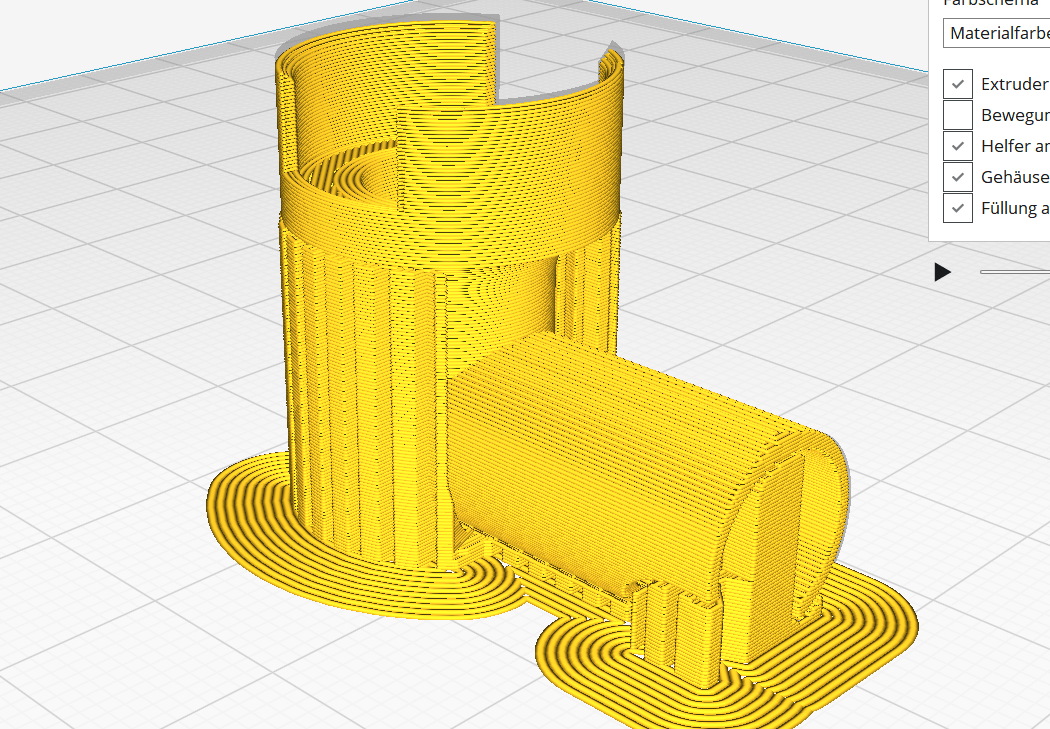
ant nest
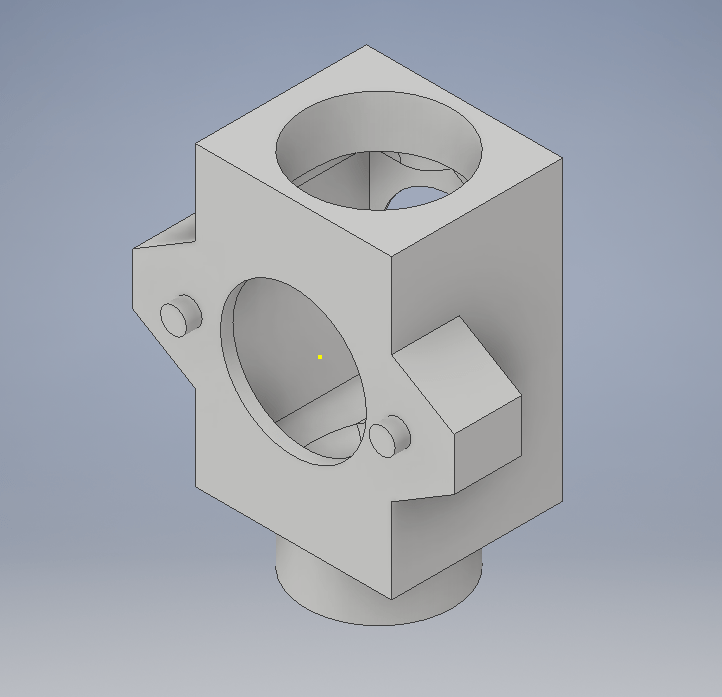
adapters and plugs
ant nest cover
ant stairs for v2 nest
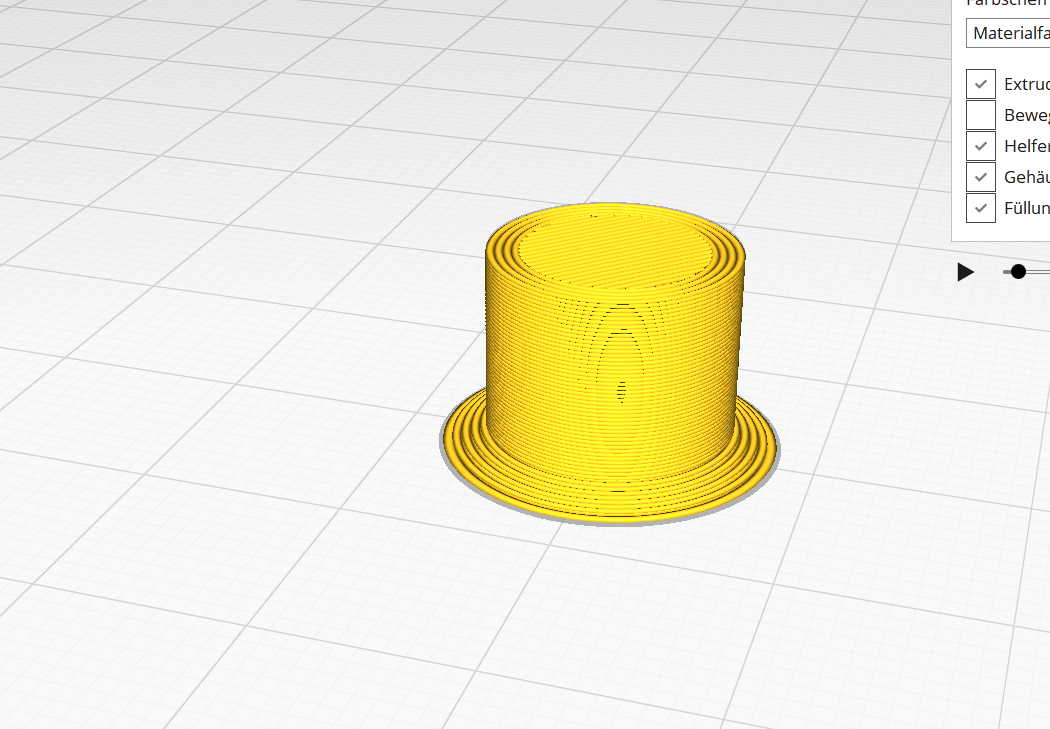
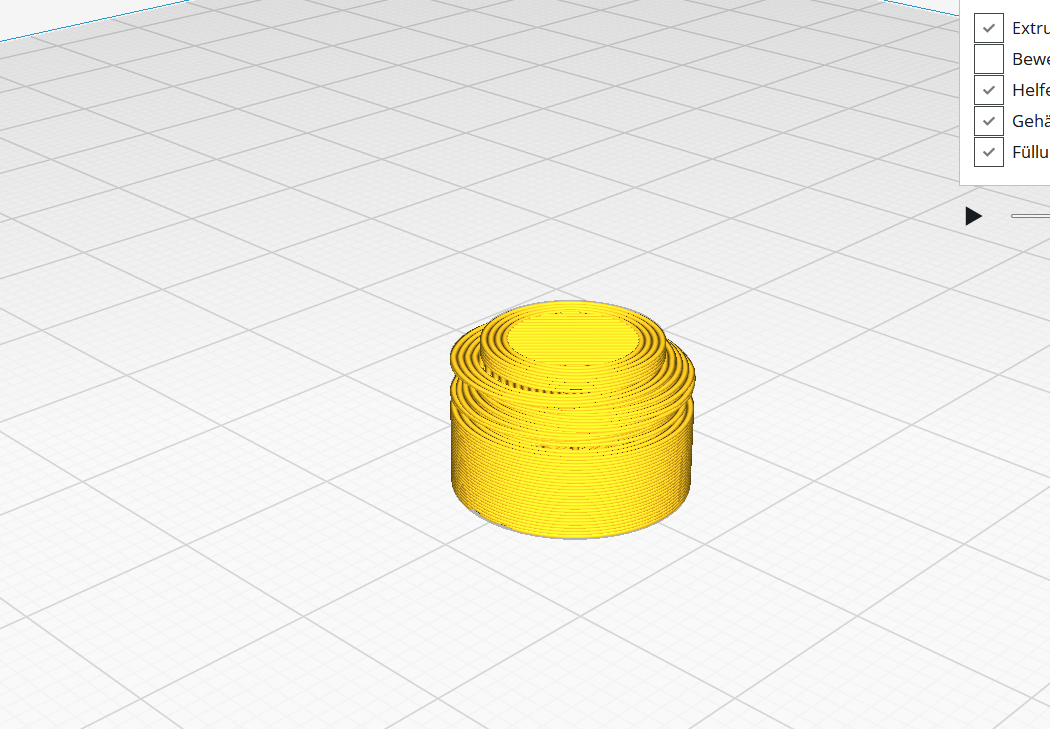
ant pipe connector for nests
rc plane
tablet holder
ant vacuum cleaner
easy feed (for test tubes)
kitchen roll holder
glas between the cover and the nest
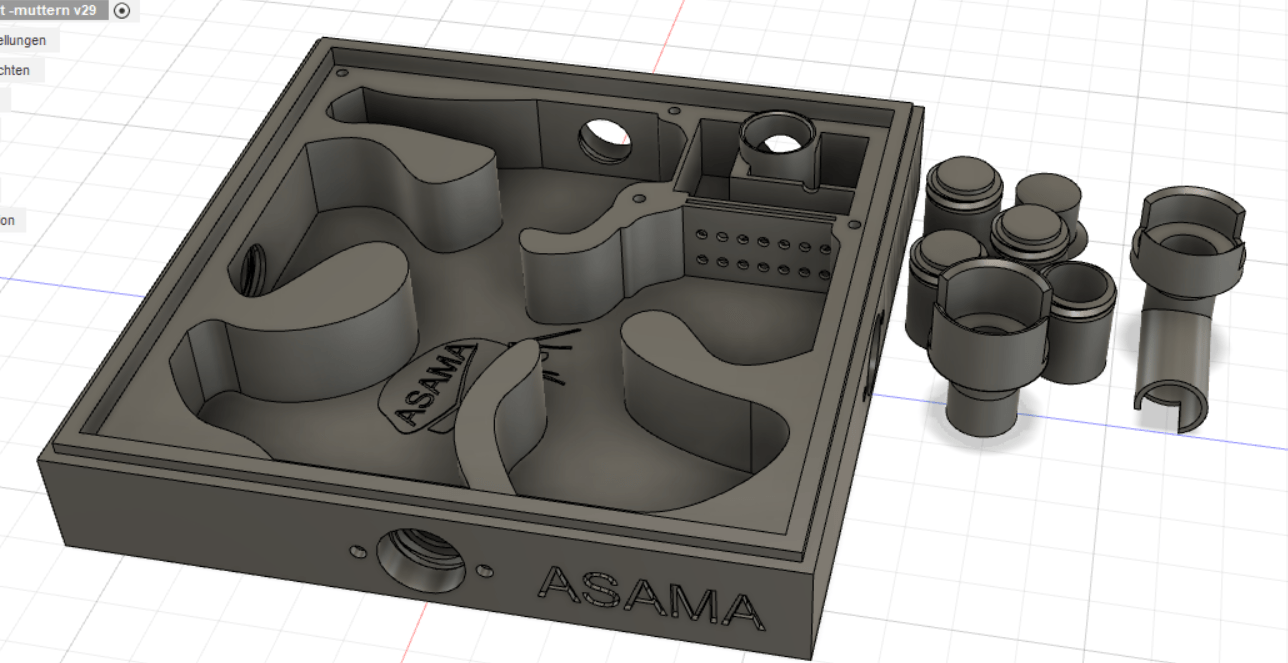

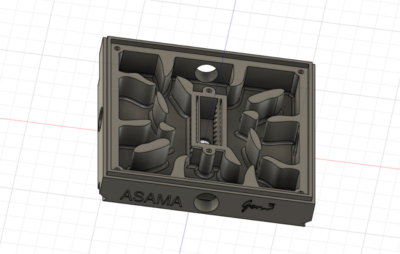
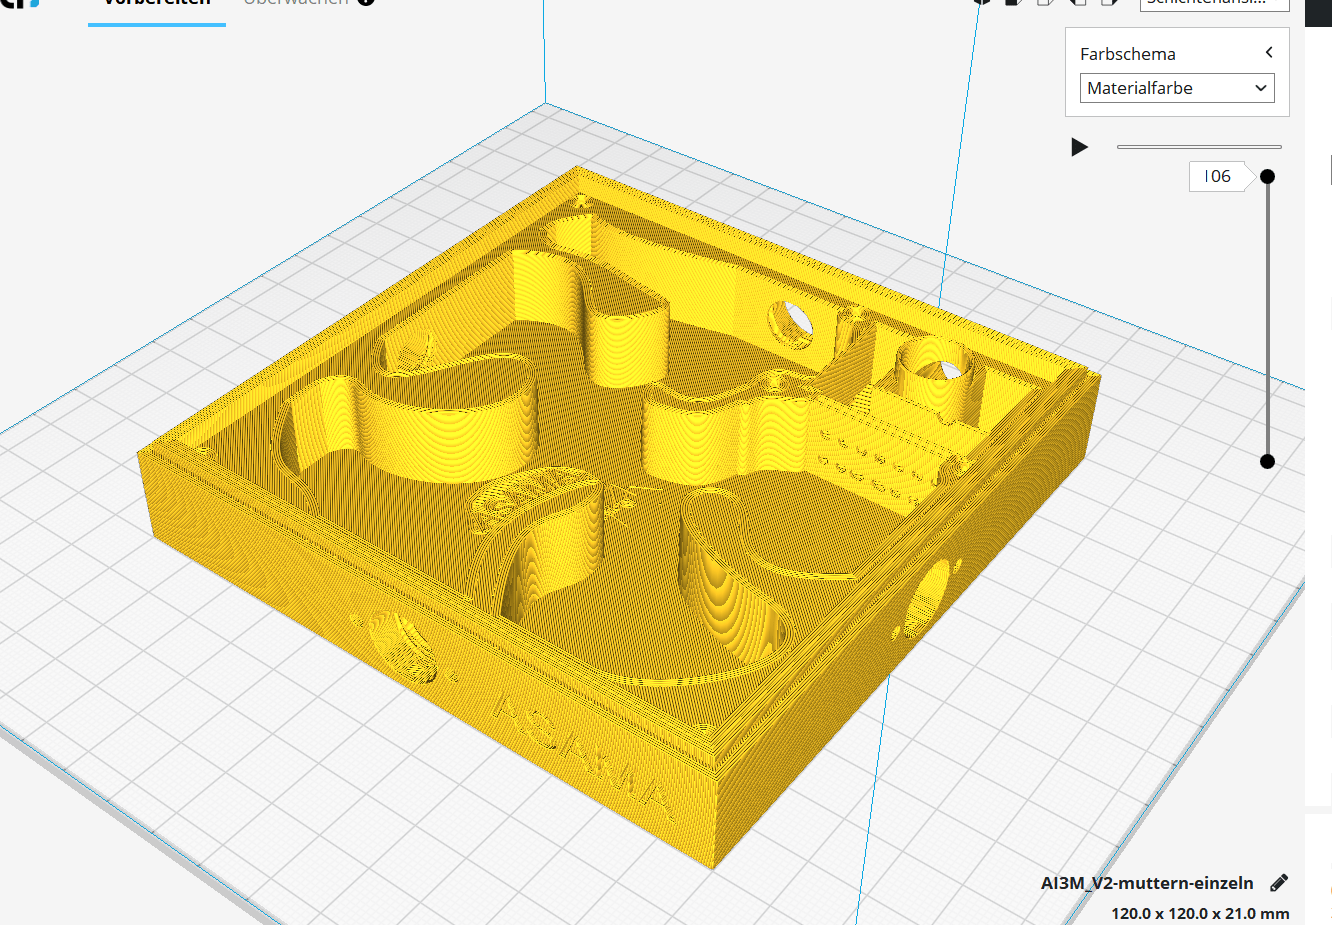
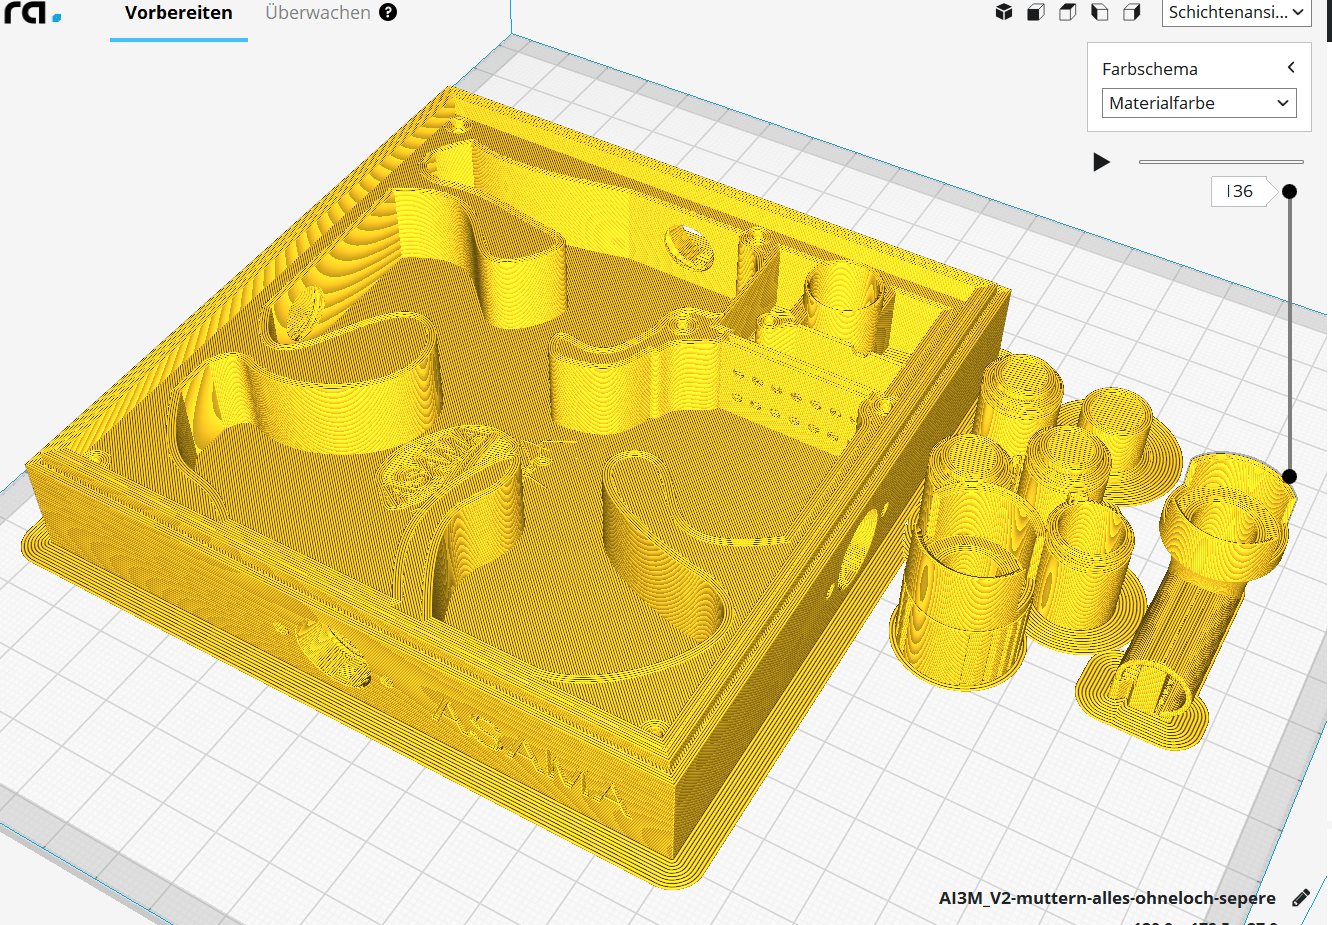
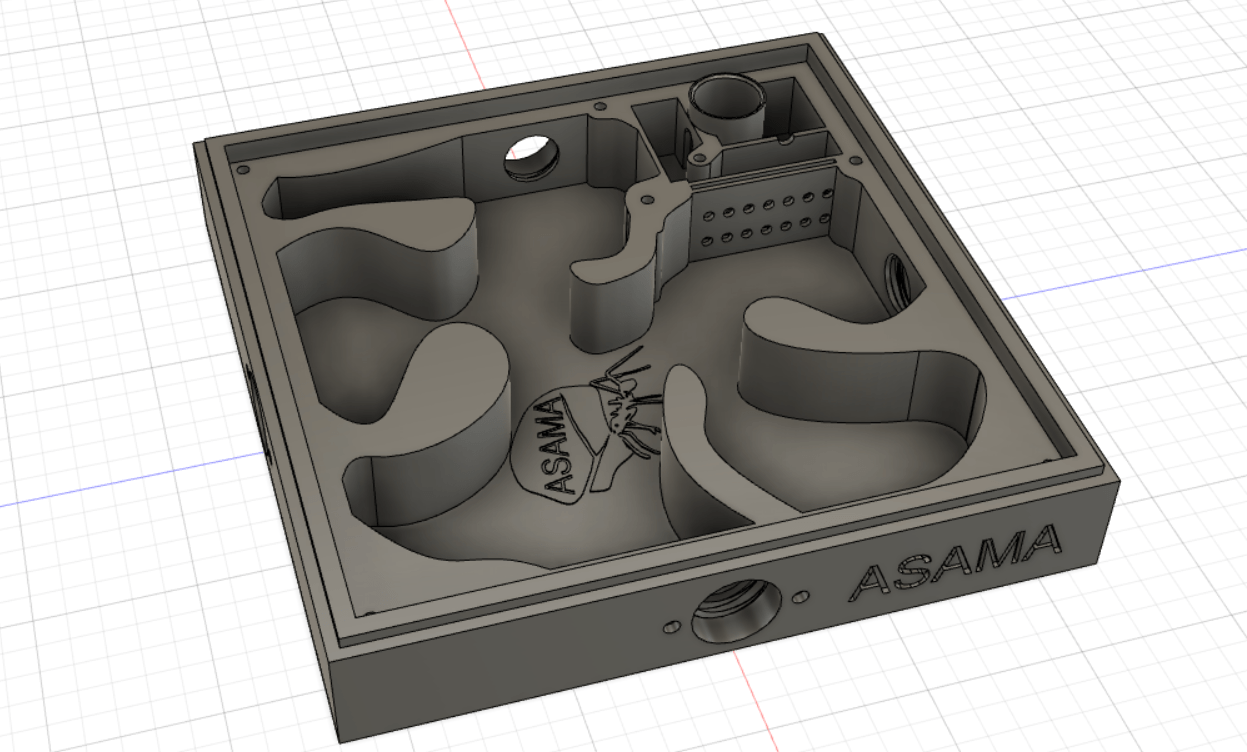
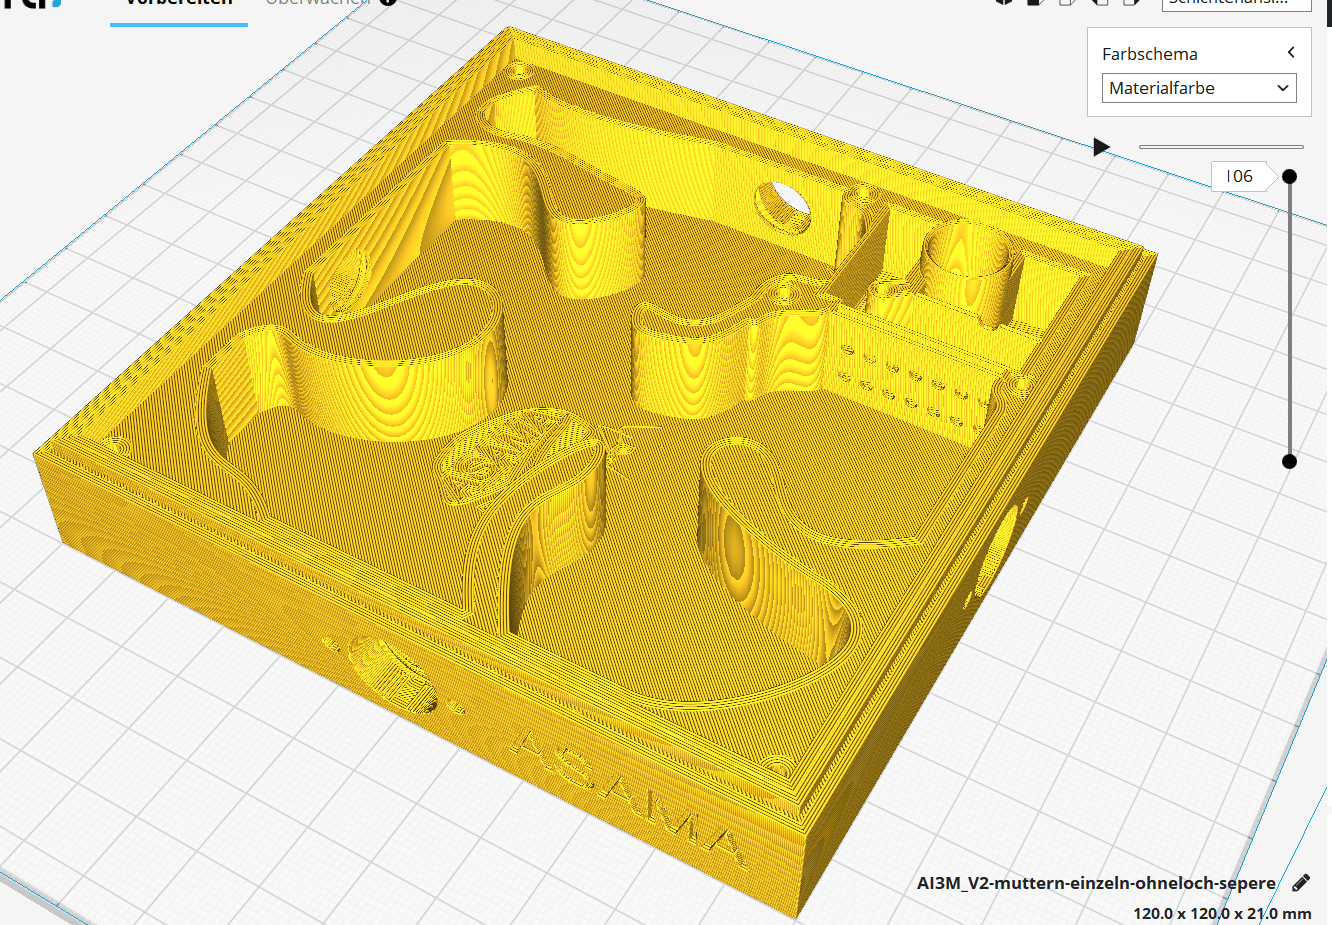
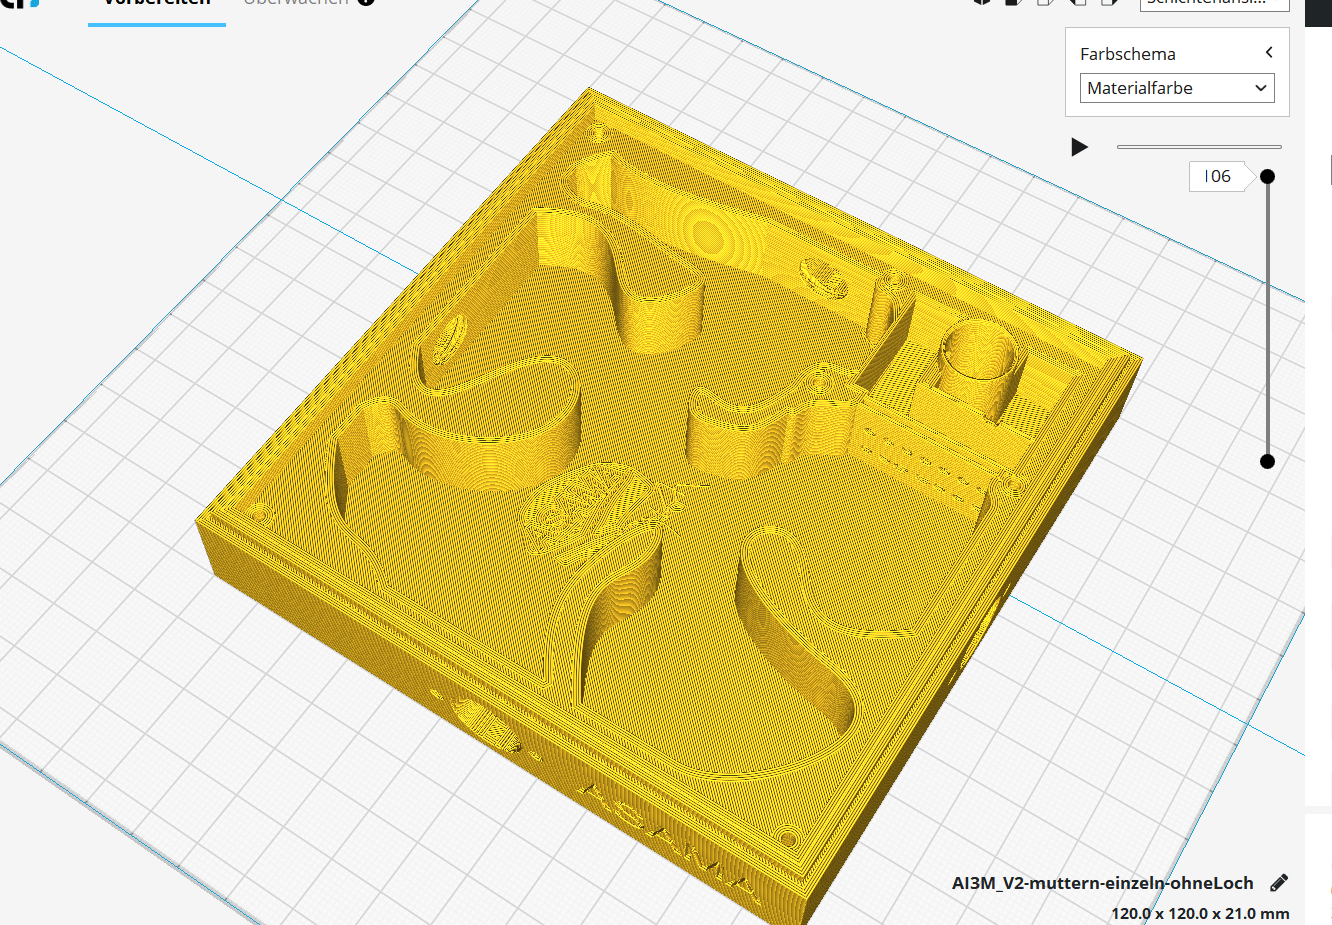
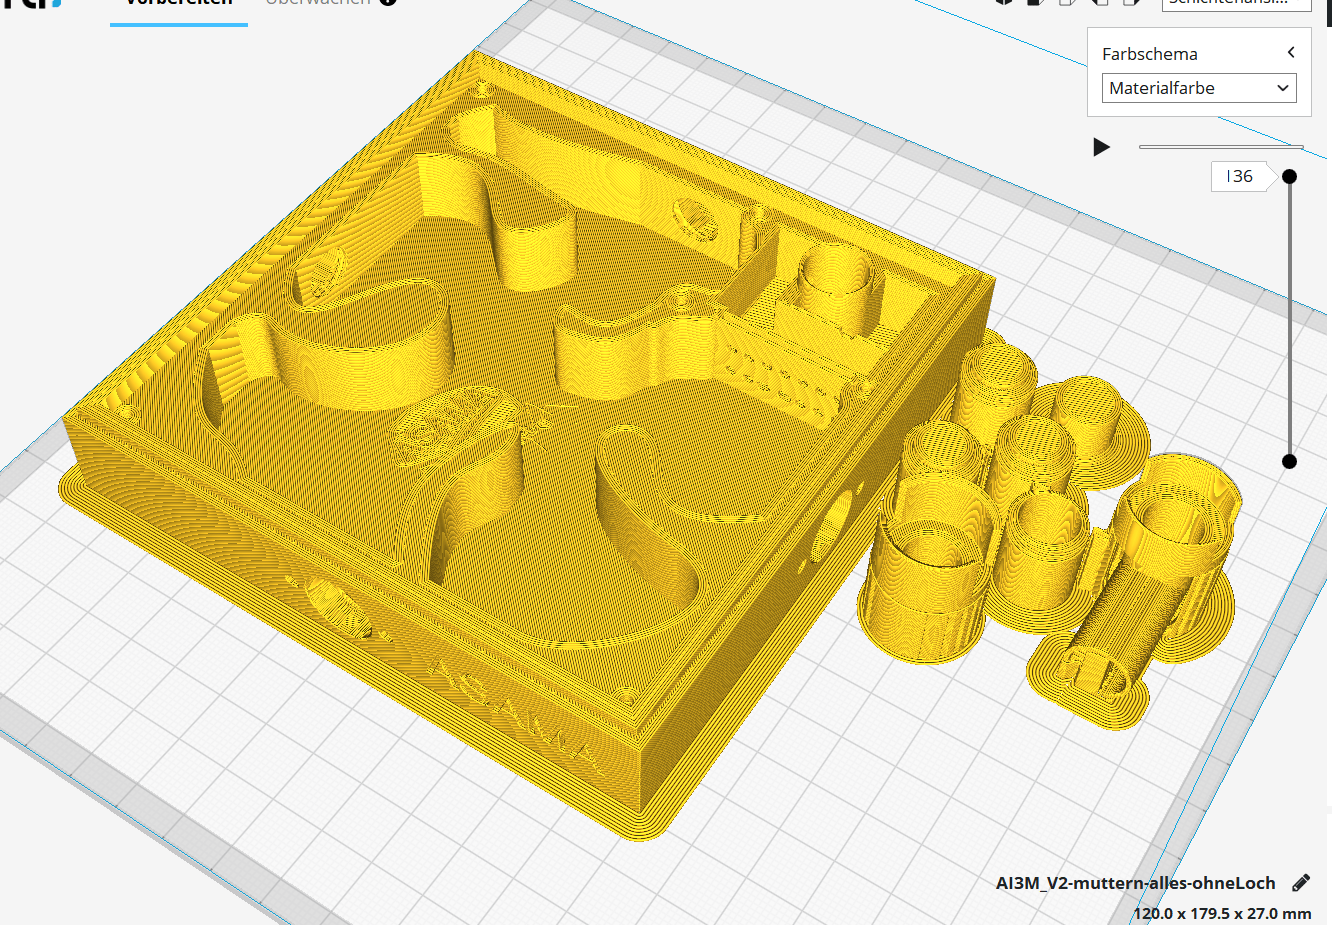
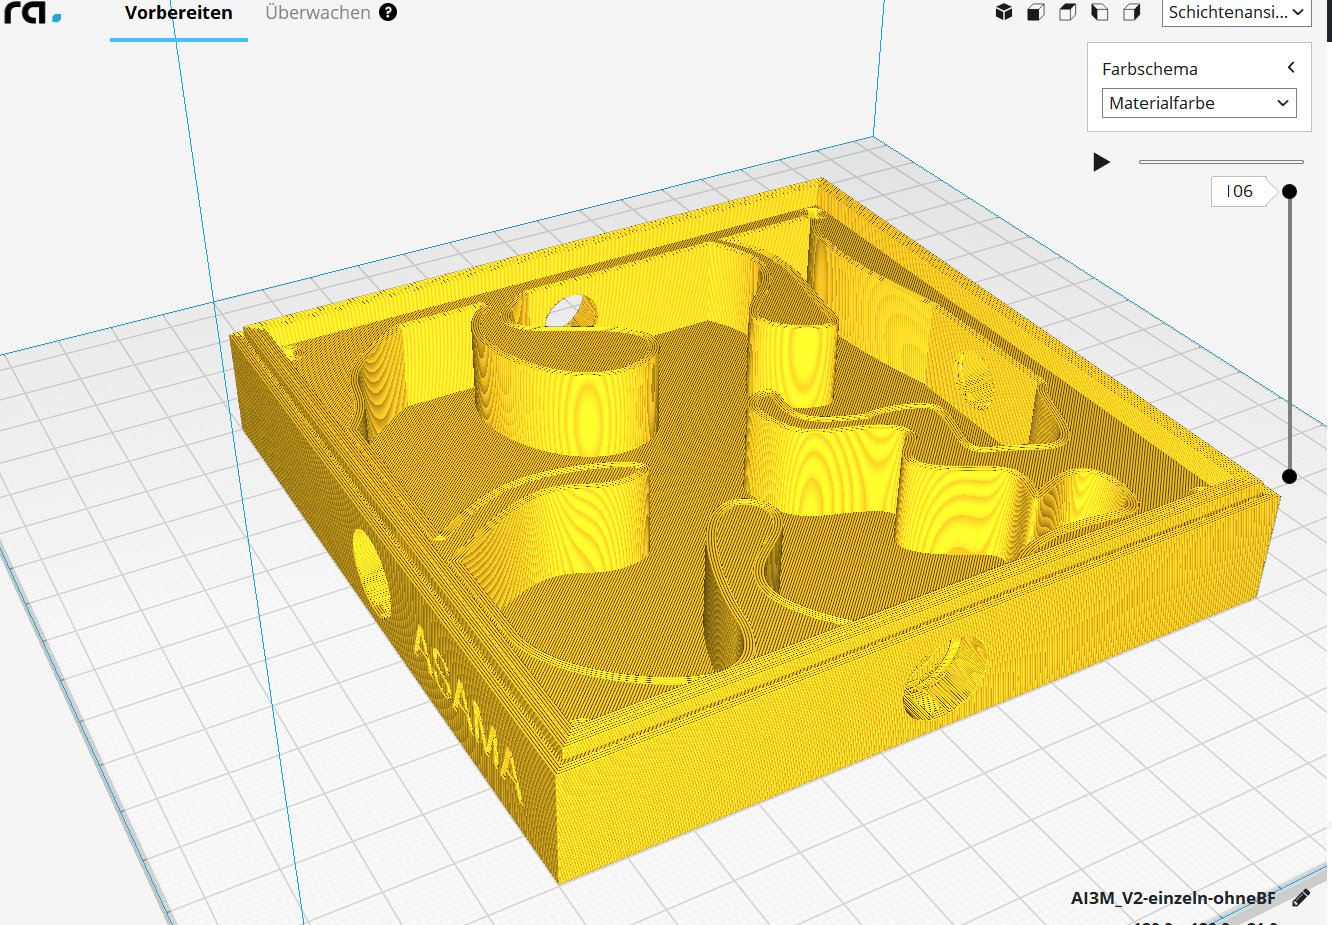
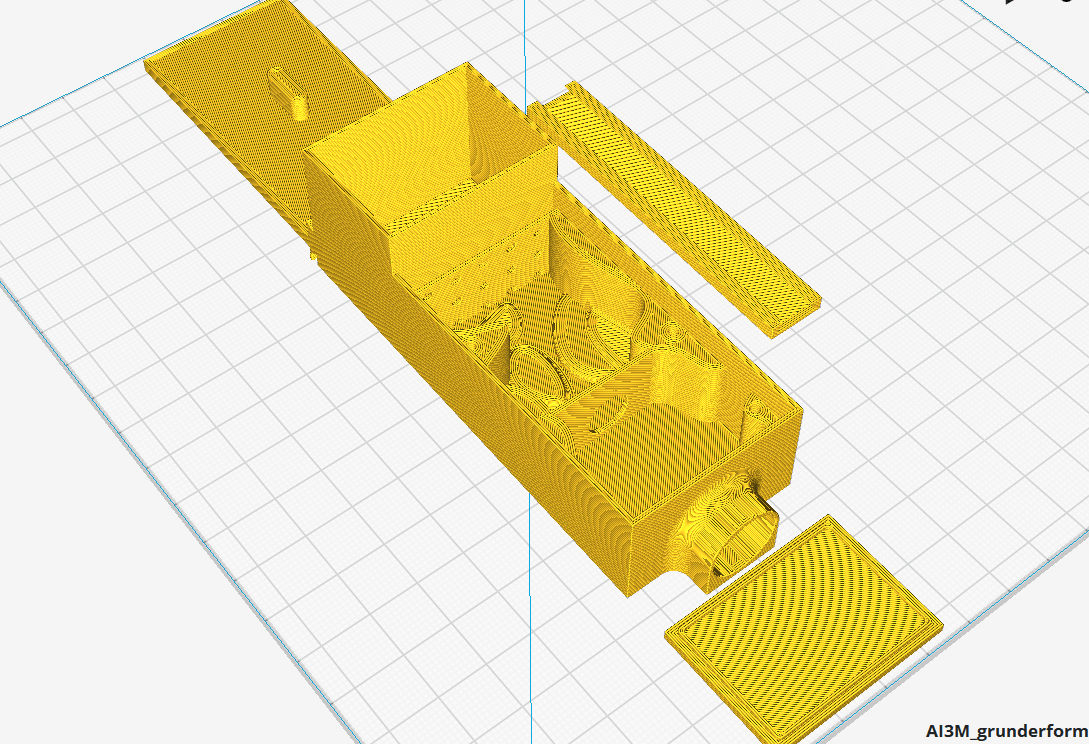
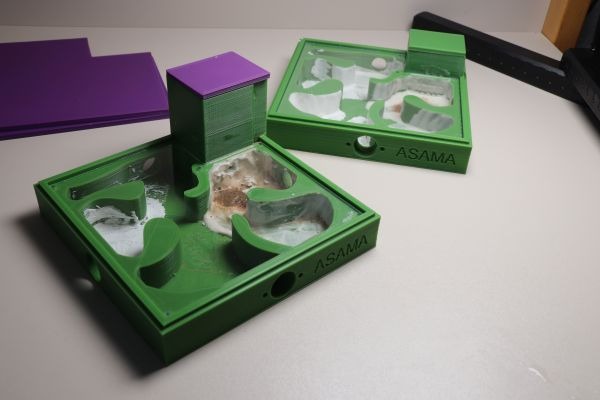
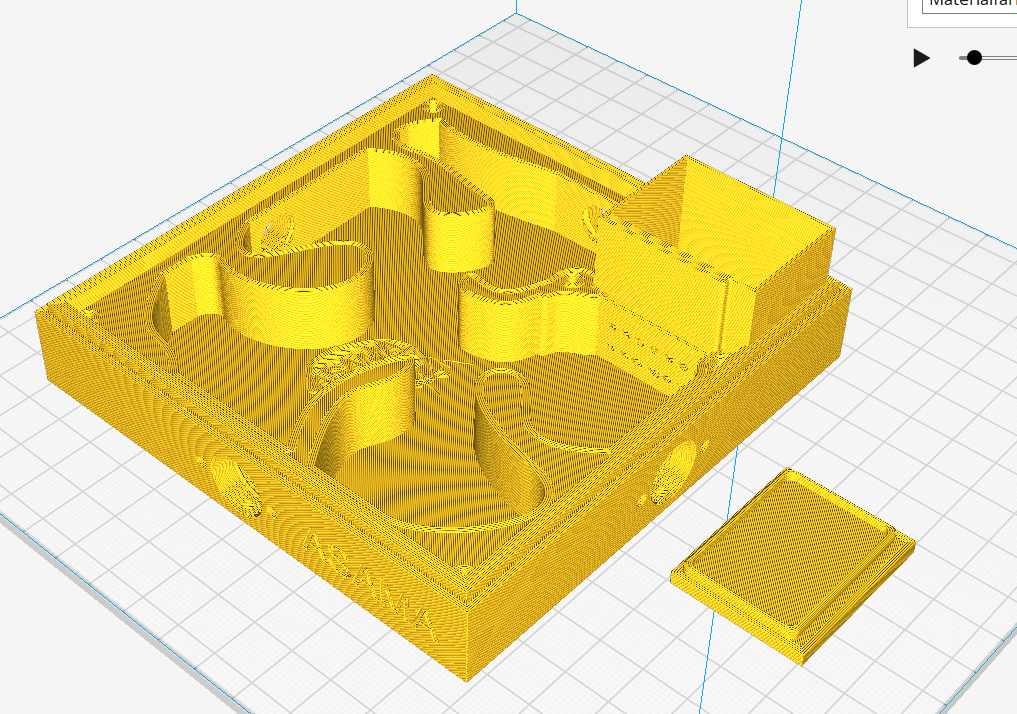
This nest is used as the main nest. If you print it out yourself, you should pay attention to the tips I give you. Not to make the same mistakes I made.
Dimensions: (HxWxL) 21 mm x 120 mm x 120 mm
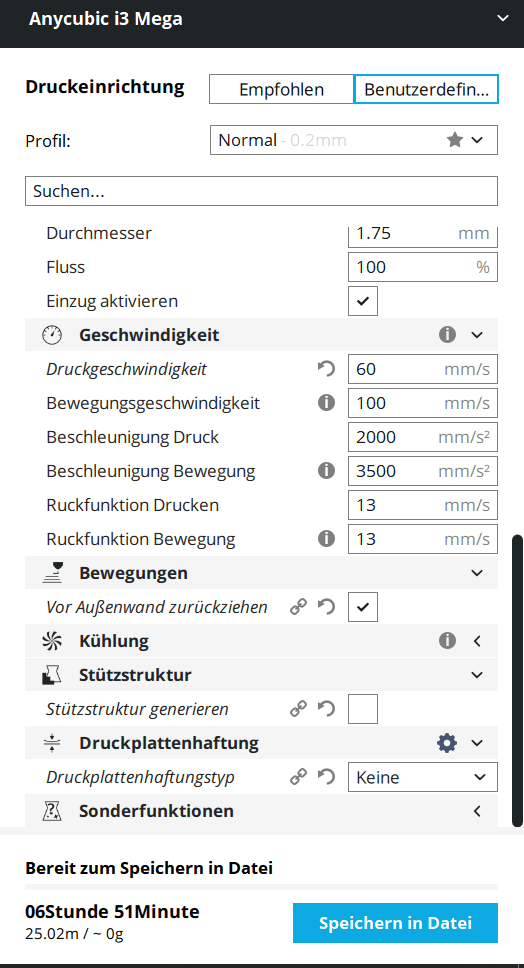
The wall thickness you should not set below 0.8mm the best is 1.2mm and more.
It is unfavorable to have support structure in the holes of the nest, because it is always very difficult to remove. Therefore just choose Cura support structure from the “pressure bed”.Especially for small high components I recommend always to put a 5mm brim around it.If you have problems with the thread (jamming), print the nest with less material flow.This also prevents a nose or seams from forming.


Download

This nest is used as the main nest. If you print it out yourself, you should pay attention to the tips I give you. Not to make the same mistakes I made.
Dimensions: (HxWxL) 21 mm x 120 mm x 120 mm
The wall thickness you should not set below 0.8mm the best is 1.2mm and more.
It is unfavorable to have support structure in the holes of the nest, because it is always very difficult to remove. Therefore just choose Cura support structure from the “pressure bed”.Especially for small high components I recommend always to put a 5mm brim around it.If you have problems with the thread (jamming), print the nest with less material flow.This also prevents a nose or seams from forming.

Download

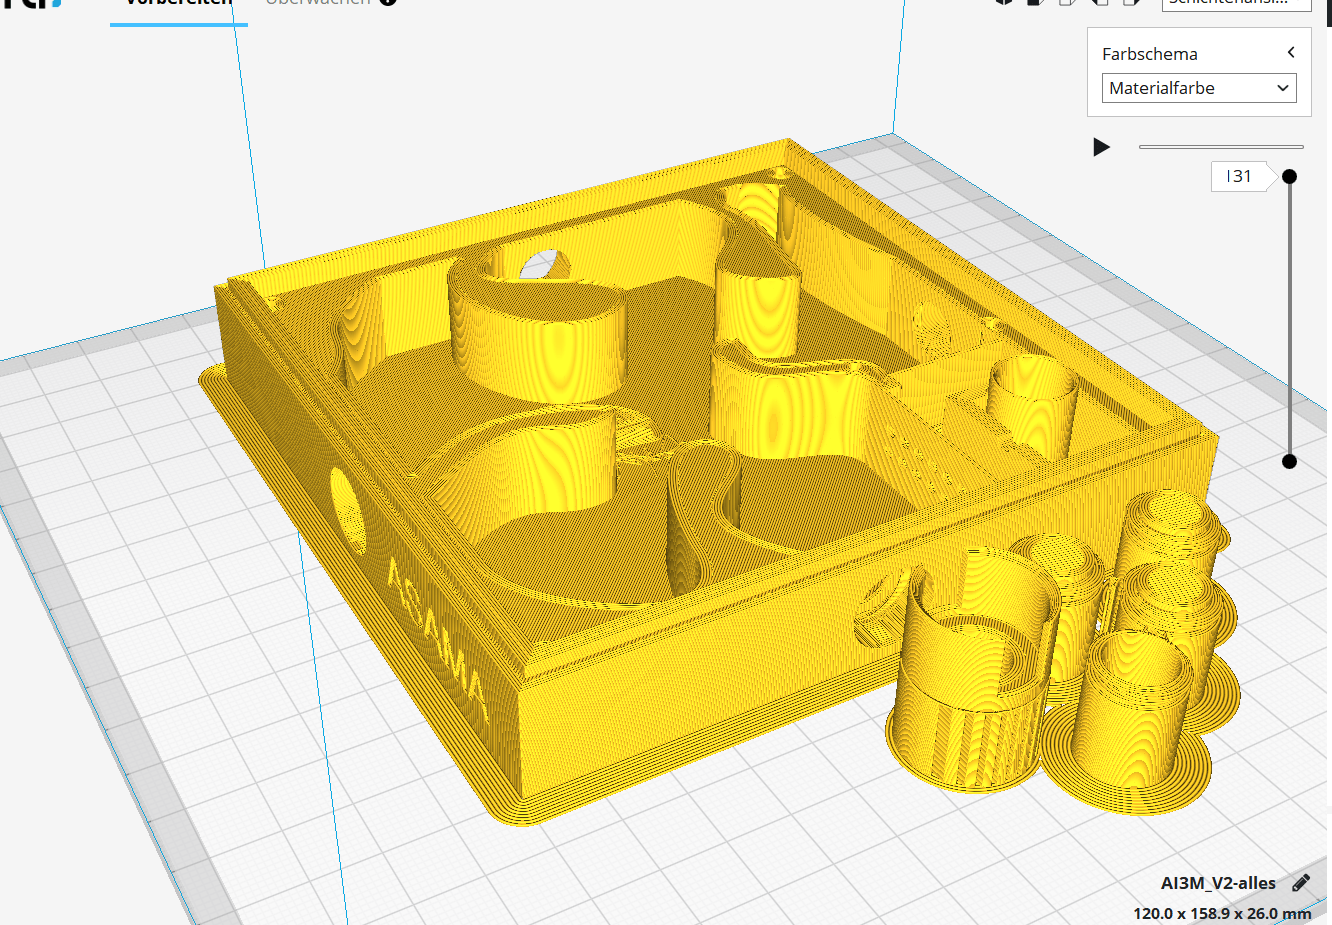
 This nest is used as the main nest. If you print it out yourself, you should pay attention to the tips I give you. Not to make the same mistakes I made.
A special feature of this nest is that you can clean the humidification compartment without opening the main nest.
Dimensions: (HxWxL) 21 mm x 120 mm x 120 mm
The wall thickness you should not set below 0.8mm the best is 1.2mm and more.
It is unfavorable to have support structure in the holes of the nest, because it is always very difficult to remove. Therefore just choose Cura support structure from the “pressure bed”.Especially for small high components I recommend always to put a 5mm brim around it.If you have problems with the thread (jamming), print the nest with less material flow.This also prevents a nose or seams from forming.
Download

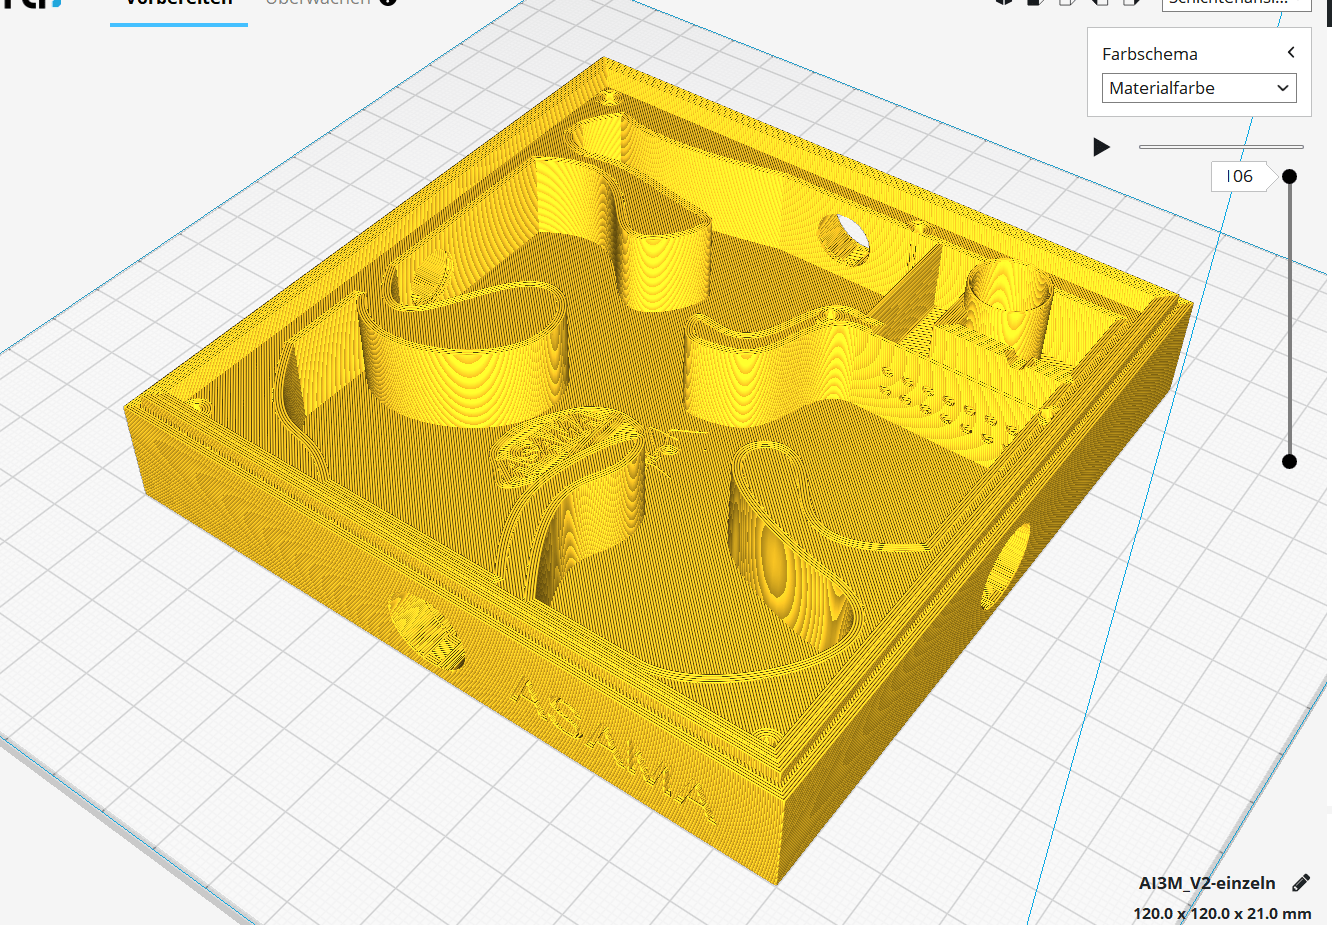
 This nest is used as the main nest. If you print it out yourself, you should pay attention to the tips I give you. Not to make the same mistakes I made.
A special feature of this nest is that you can clean the humidification compartment without opening the main nest.
Dimensions: (HxWxL) 21 mm x 120 mm x 120 mm
The wall thickness you should not set below 0.8mm the best is 1.2mm and more.
It is unfavorable to have support structure in the holes of the nest, because it is always very difficult to remove. Therefore just choose Cura support structure from the “pressure bed”.Especially for small high components I recommend always to put a 5mm brim around it.If you have problems with the thread (jamming), print the nest with less material flow.This also prevents a nose or seams from forming.
Download

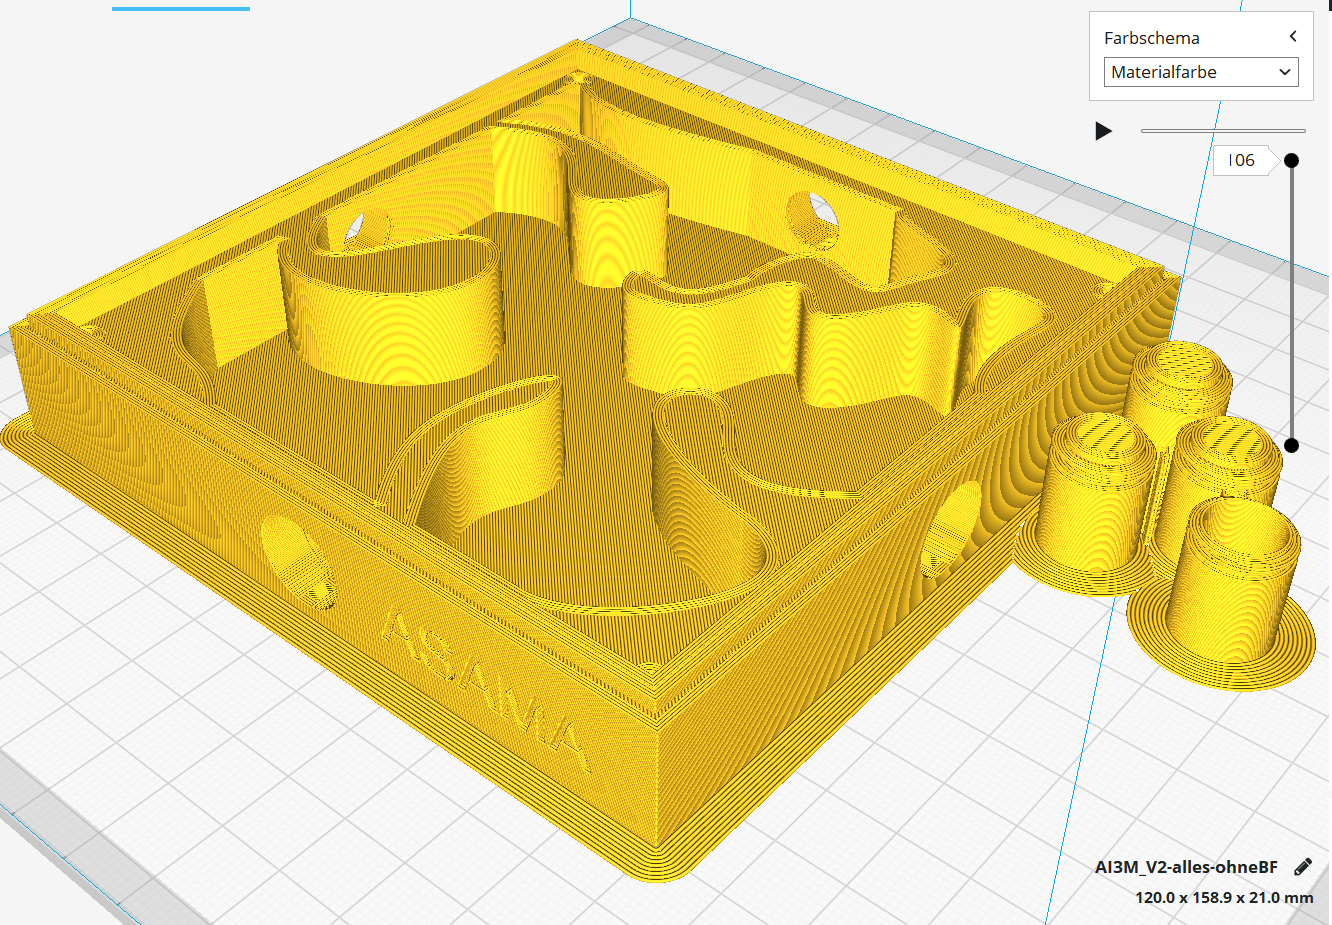
This nest is used as the main nest. If you print it out yourself, you should pay attention to the tips I give you. Not to make the same mistakes I made.
A special feature of this nest is that you can clean the humidification compartment without opening the main nest.
Dimensions: (HxWxL) 21 mm x 120 mm x 120 mm
The wall thickness you should not set below 0.8mm the best is 1.2mm and more.
It is unfavorable to have support structure in the holes of the nest, because it is always very difficult to remove. Therefore just choose Cura support structure from the “pressure bed”.Especially for small high components I recommend always to put a 5mm brim around it.If you have problems with the thread (jamming), print the nest with less material flow.This also prevents a nose or seams from forming.
Download

This nest is used as the main nest. If you print it out yourself, you should pay attention to the tips I give you. Not to make the same mistakes I made.
Dimensions: (HxWxL) 21 mm x 120 mm x 120 mm
The wall thickness you should not set below 0.8mm the best is 1.2mm and more.
It is unfavorable to have support structure in the holes of the nest, because it is always very difficult to remove. Therefore just choose Cura support structure from the “pressure bed”.Especially for small high components I recommend always to put a 5mm brim around it.If you have problems with the thread (jamming), print the nest with less material flow.This also prevents a nose or seams from forming.
Download

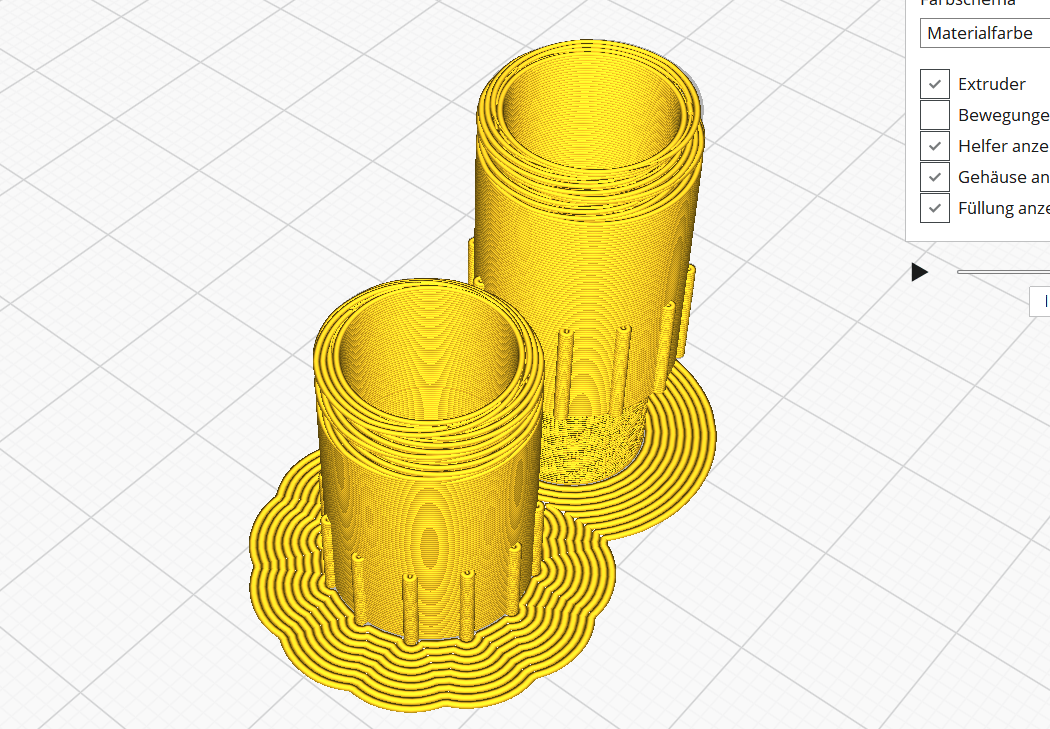
This nest is used as the secondary nest. If you print it out yourself, you should pay attention to the tips I give you. Not to make the same mistakes I made.
This nest can only be provided together with a main nest for an ant colony. You can then connect the two nests with the ant-stairs or with a suitable adapter.
Dimensions: (HxWxL) 21 mm x 120 mm x 120 mm
The wall thickness you should not set below 0.8mm the best is 1.2mm and more.
It is unfavorable to have support structure in the holes of the nest, because it is always very difficult to remove. Therefore just choose Cura support structure from the “pressure bed”.Especially for small high components I recommend always to put a 5mm brim around it.If you have problems with the thread (jamming), print the nest with less material flow.This also prevents a nose or seams from forming.
Download
Video follow later!
Nest connector:
for 2 Nest´s
and for 3 nest´s (in Download)

Main nest with all in one print:


This nest is used as the secondary nest. If you print it out yourself, you should pay attention to the tips I give you. Not to make the same mistakes I made.
Dimensions: (HxWxL) 33 mm x 107 mm x 38,4 mm
The wall thickness you should not set below 0.8mm the best is 1.2mm and more.
This nest is special for small ant colonies, for example: a queen or a queen with few workers.
With the connector you can then combine the nests with each other (at the back of the nests) to have them always together.


connected
Download
separately
Download

Big Version: Printing time 8:20h


Small Version:
Real printing time: 7:40h

This nest is used as the secondary nest. If you print it out yourself, you should pay attention to the tips I give you. Not to make the same mistakes I made.
This nest can only be provided together with a main nest for an ant colony. You can then connect the two nests with the ant-stairs or with a suitable adapter.
Dimensions: (HxWxL) 21 mm x 120 mm x 120 mm
The wall thickness you should not set below 0.8mm the best is 1.2mm and more.
It is unfavorable to have support structure in the holes of the nest, because it is always very difficult to remove. Therefore just choose Cura support structure from the “printing bed”.Especially for small high components I recommend always to put a 5mm brim around it.If you have problems with the thread (jamming), print the nest with less material flow.This also prevents a nose or seams from forming.


Small Version:
Download
Big Version:
Download
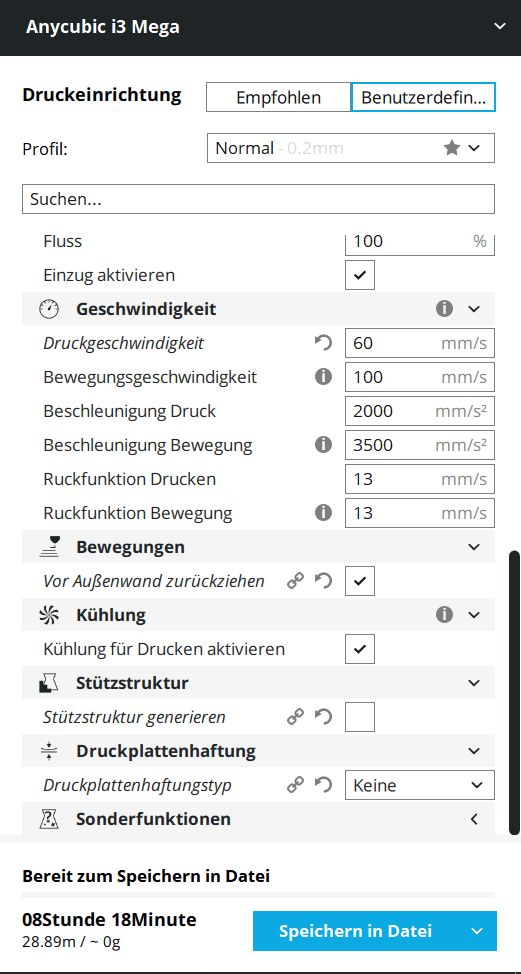
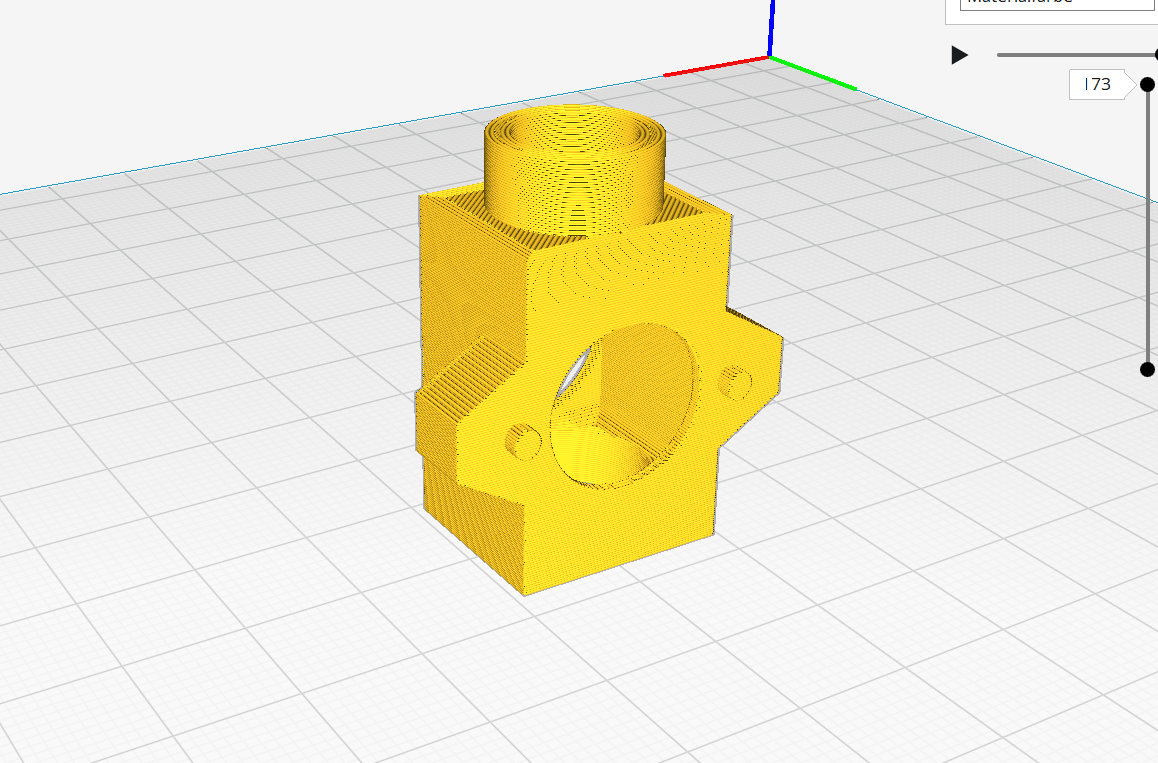
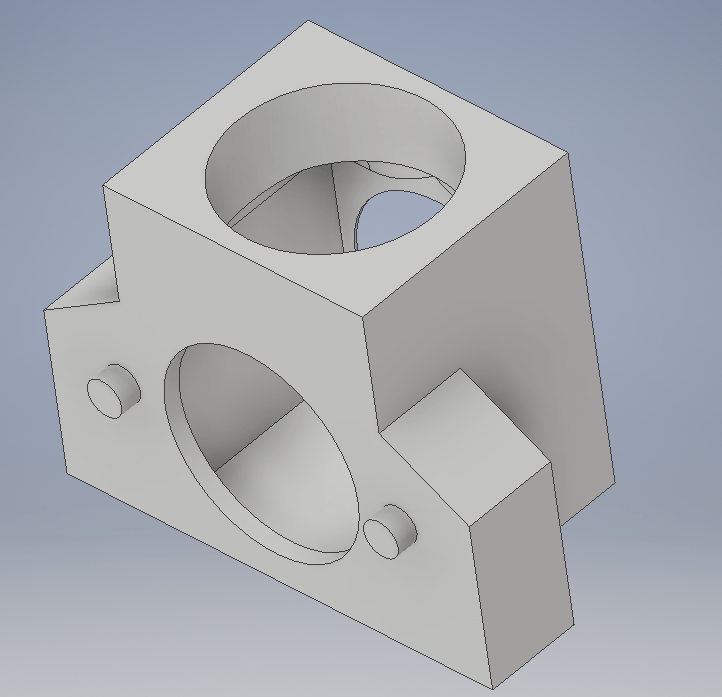
adapters and plugs
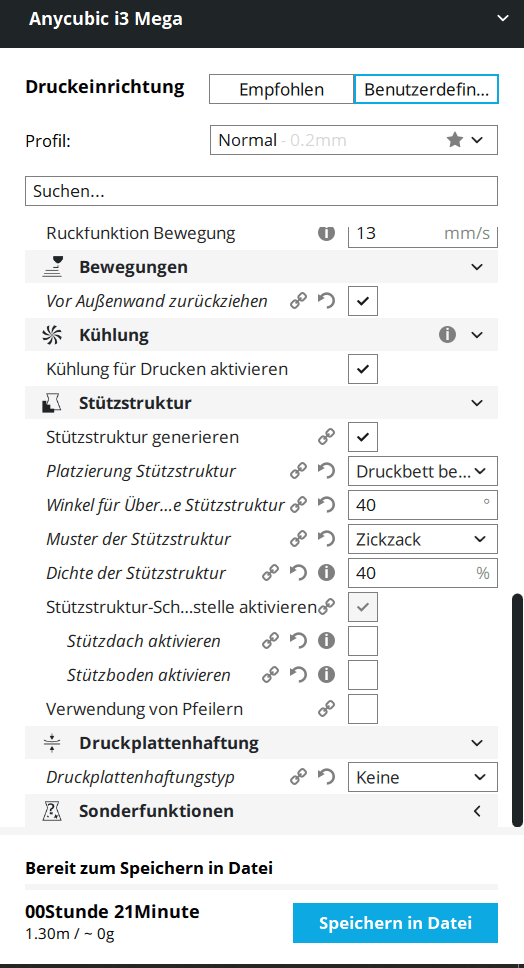
Tips :
- always print with Brim
- if it is a little bit stuck the adapter, you can scale it down
- the thread should always be printed at the end
- if you need support structure then only from the heating bed
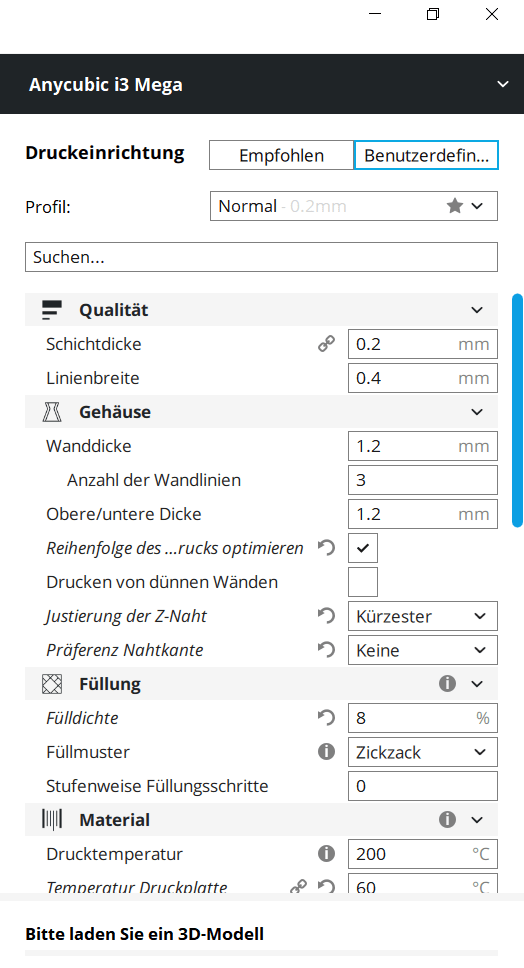
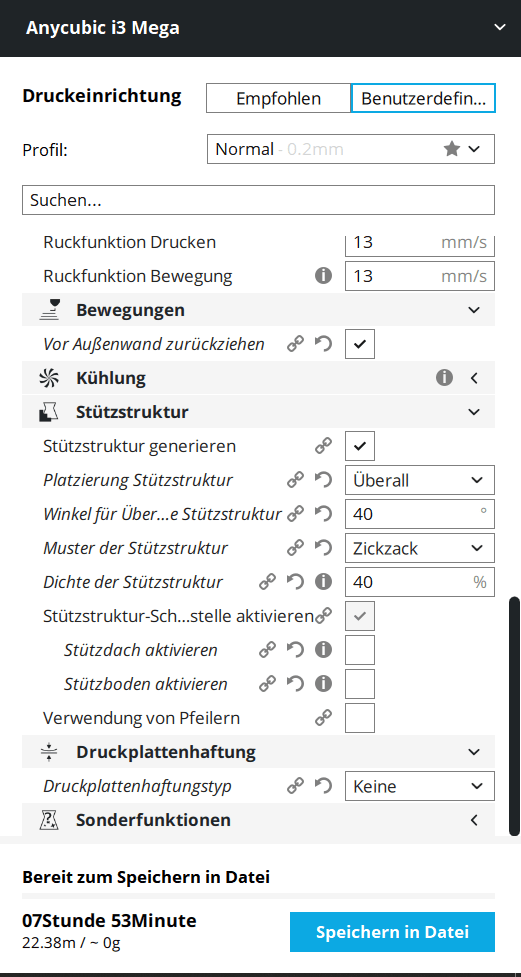
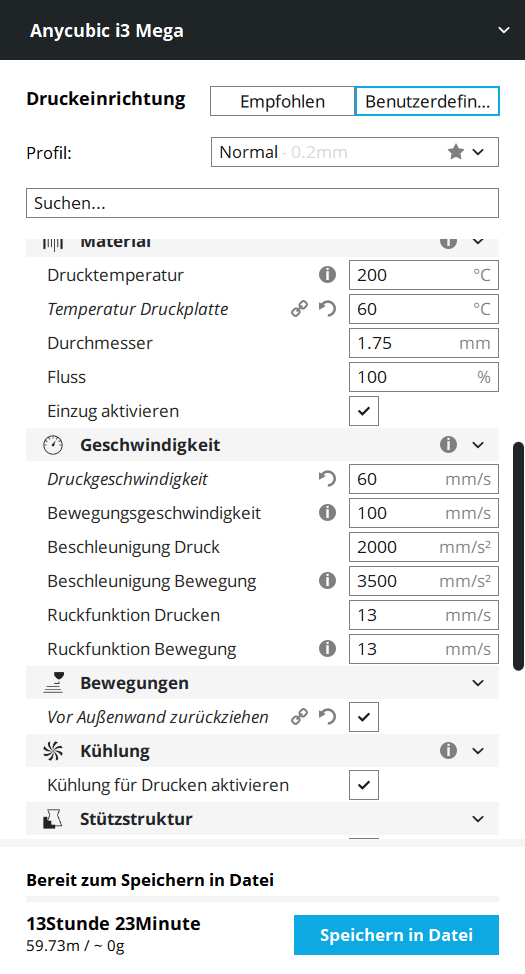
Basic print parameters:


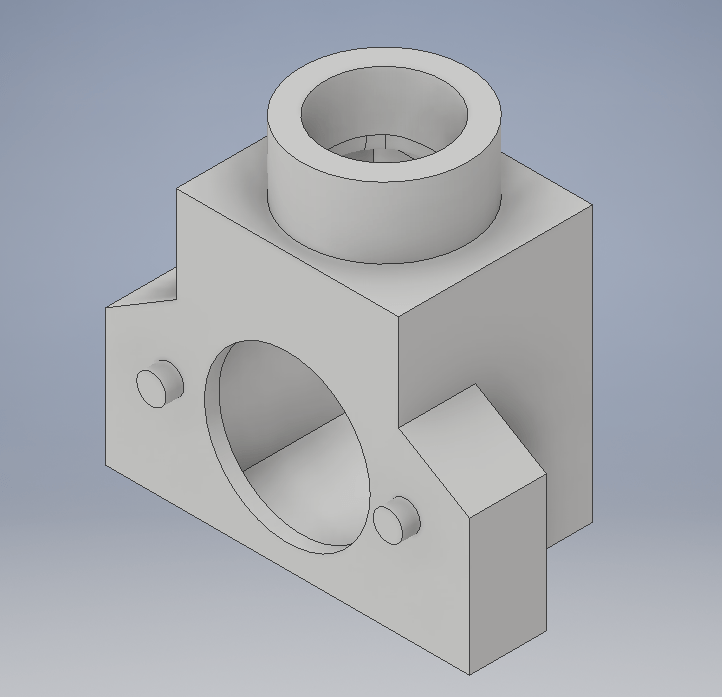
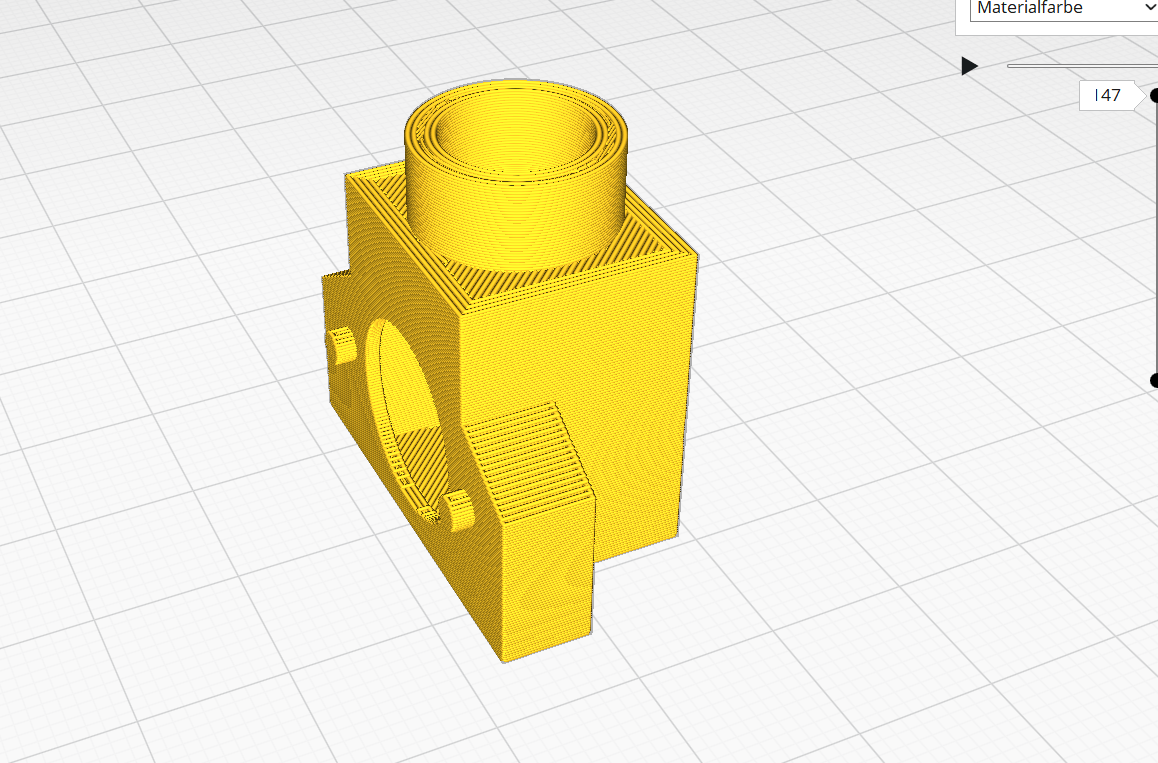
Adapter 1:


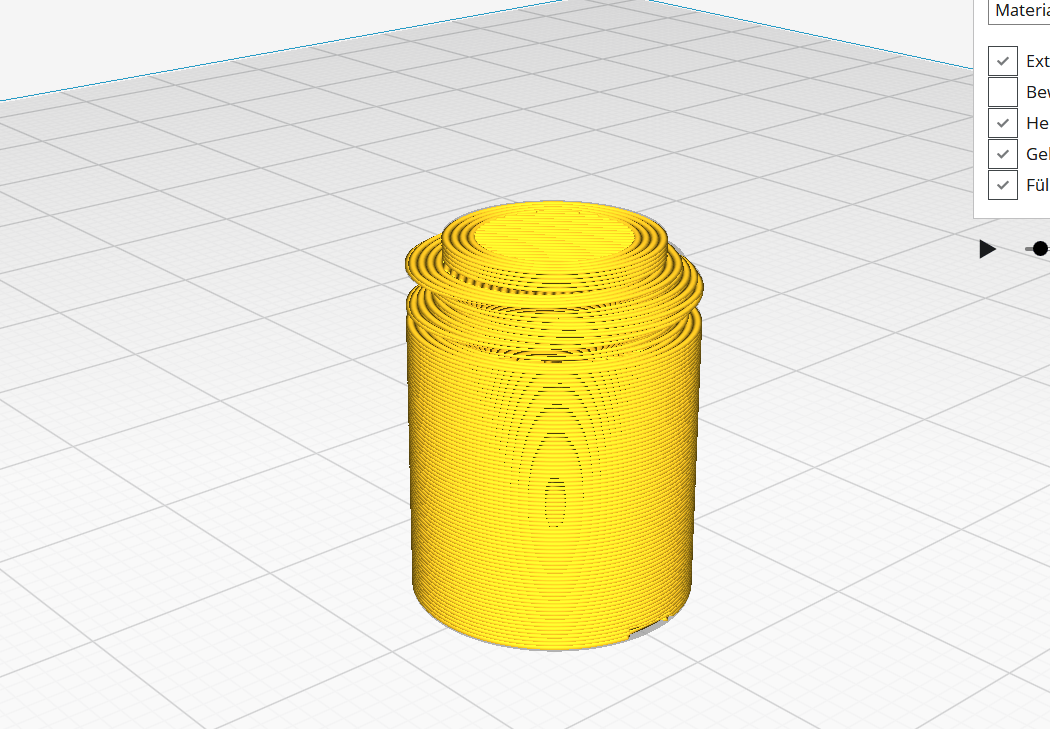
Adpater 2:
adapter for ventilation (glue metal grid on it) or for connecting hoses


Adapter 3:

Adapter 4:

Adapter 5:

Adapter 6:
adapter is flush with the nest wall


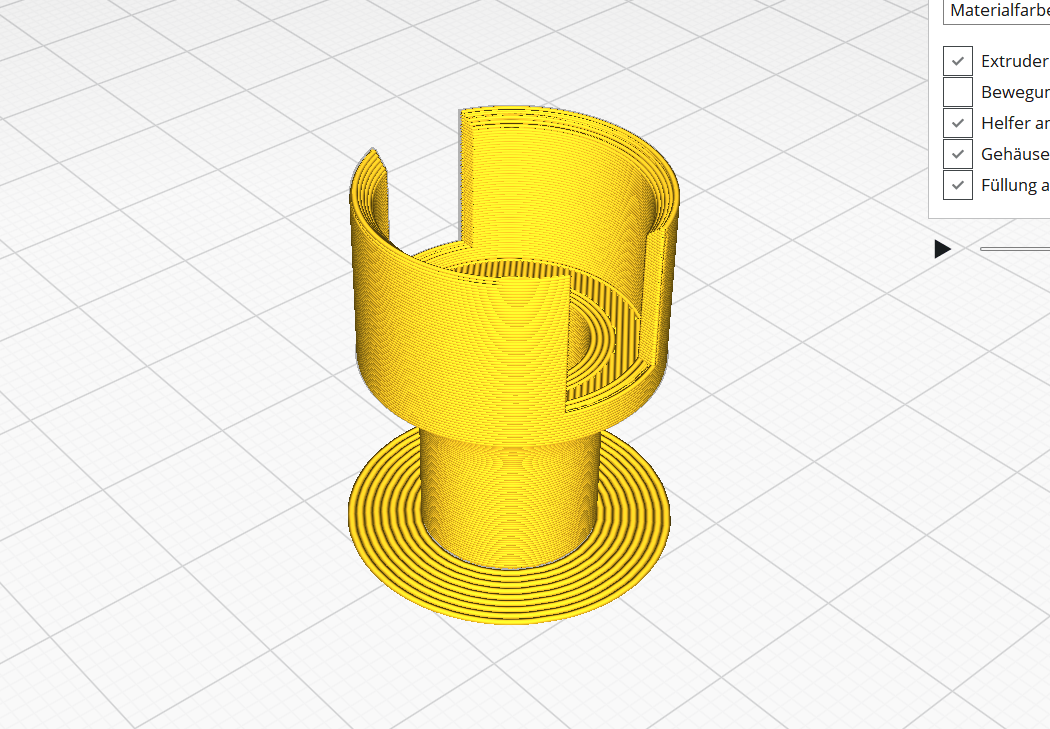
Adapter 7:
connect two nests

I have forgotten the support structure here. You should not forget it
Adapter 8:
connection to a 14mm hose

Adapter 9:


Download
Tips :
- always print with Brim os skirt
- if it is a little bit stuck the adapter, you can scale it down
- the thread should always be printed at the end
- if you need support structure then only from the heating bed
- for better fitting accuracy we recommend a 0,2mm nozzle!
- printing time for one plug (o,4mm nozzle): 10min
Basic print parameters:
Gen3-plug:


Gen3-holeplug 2:

adapter for ventilation (glue metal grid on it) or for connecting hoses
Gen3-plugwithmanyholes:
Gen3-plug-flat:
Gen3-holeplug-flat:
Gen3-middleplug:

Download
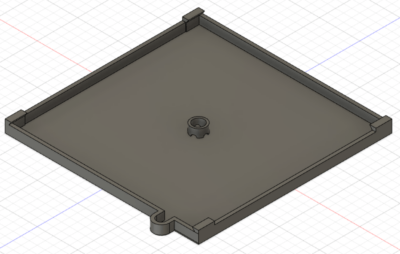
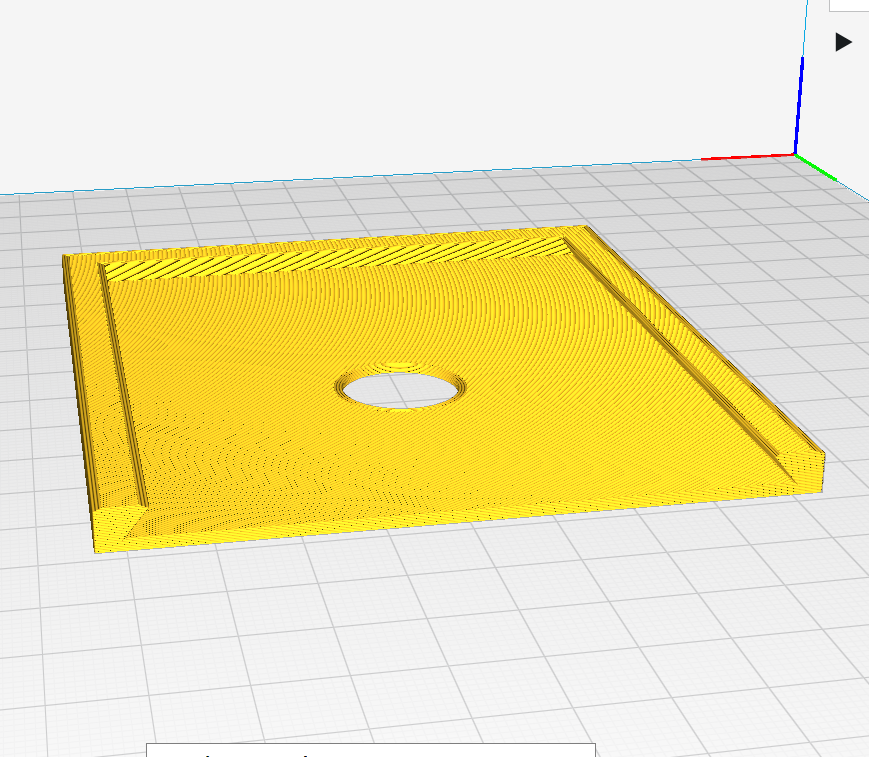
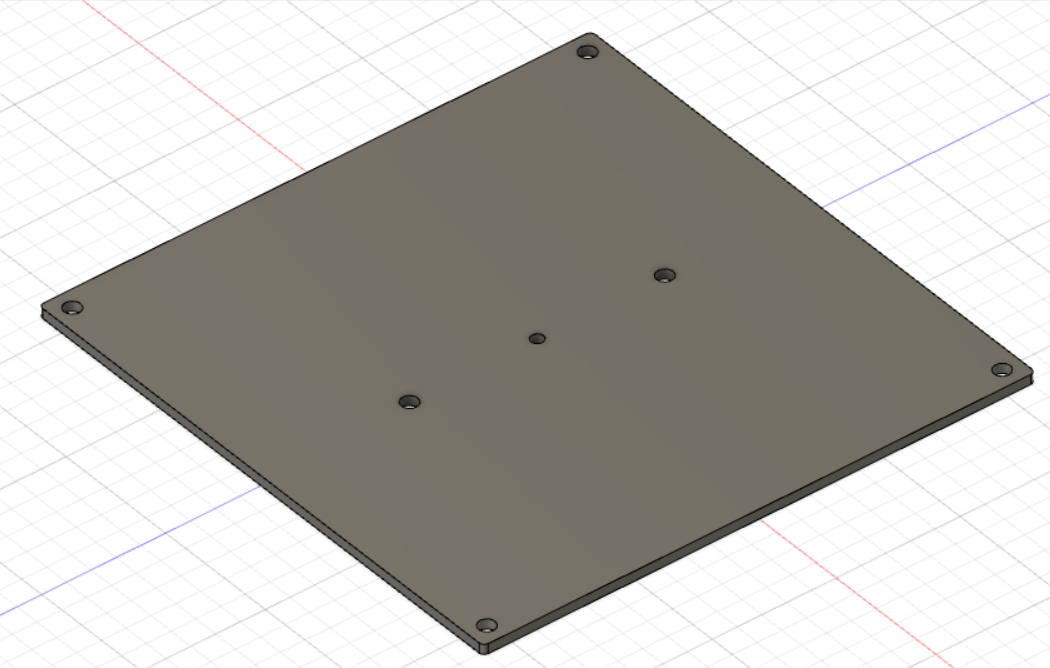
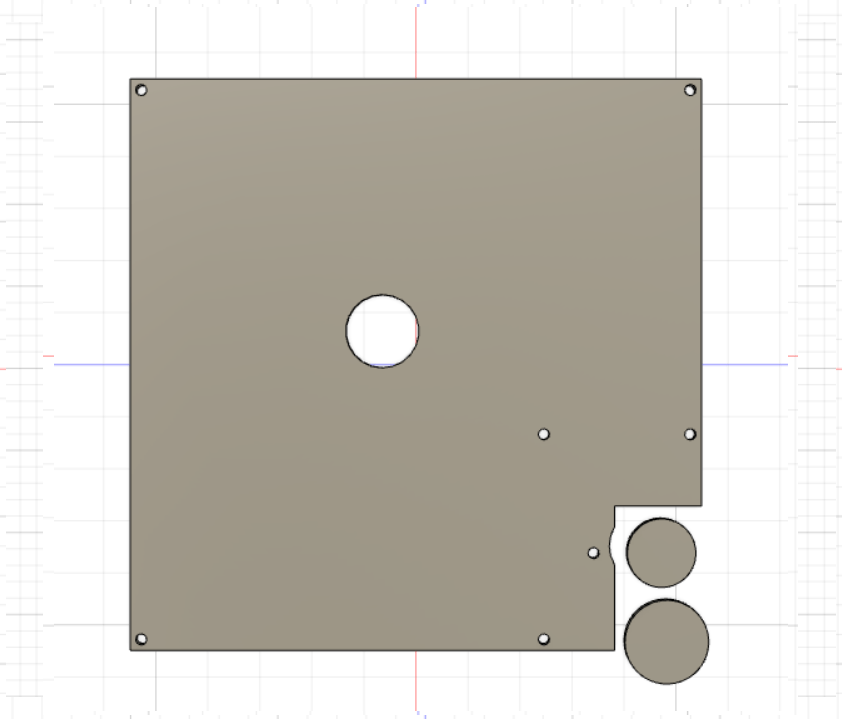
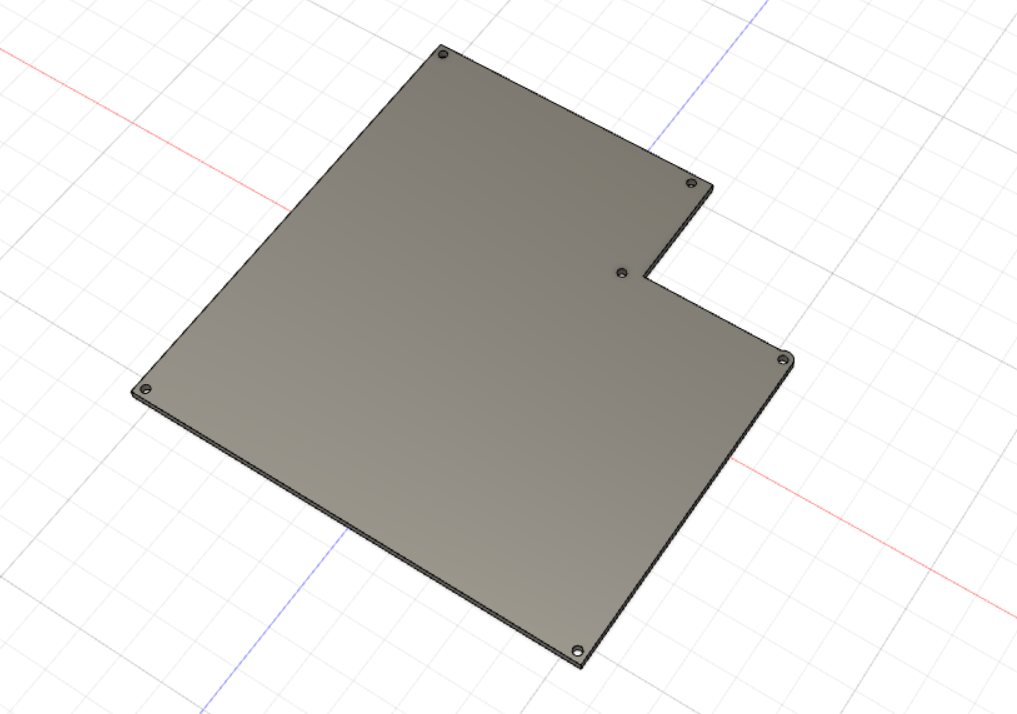
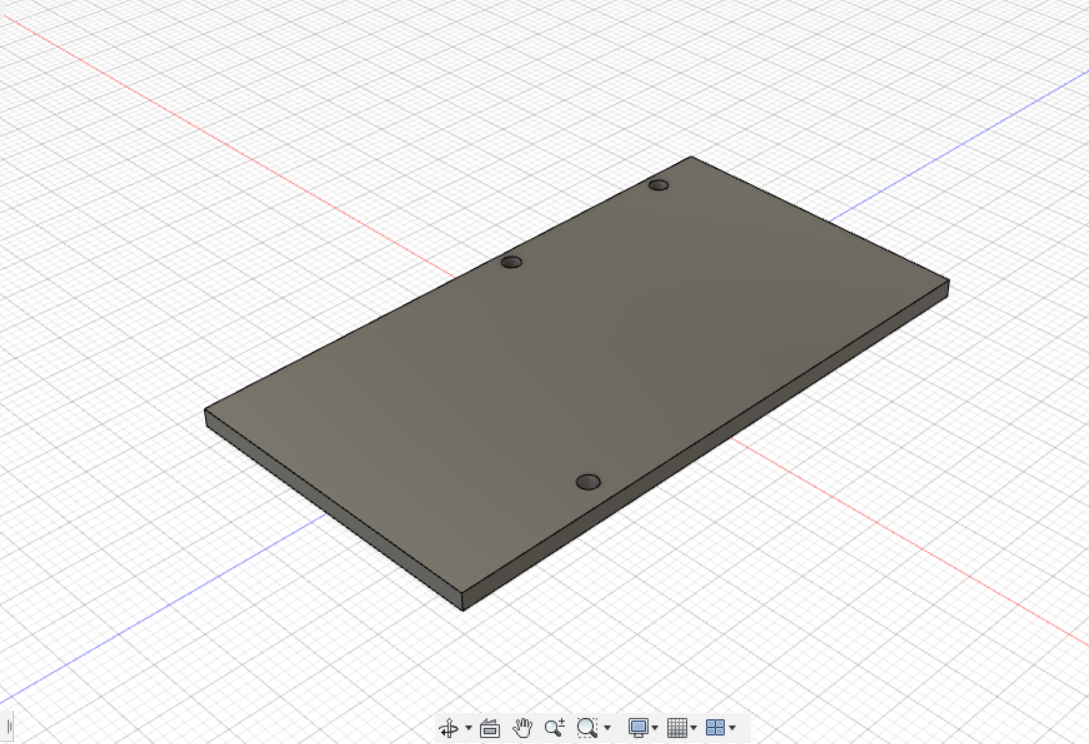
ant nest cover

There is not much you can do wrong when printing a cover. You just have to make sure that your filament has a dark colour with lots of pigments. Just so that it gets dark in the nest with the cover.
Printing time: 8,5h
A handle to lift the cover is recommended!!


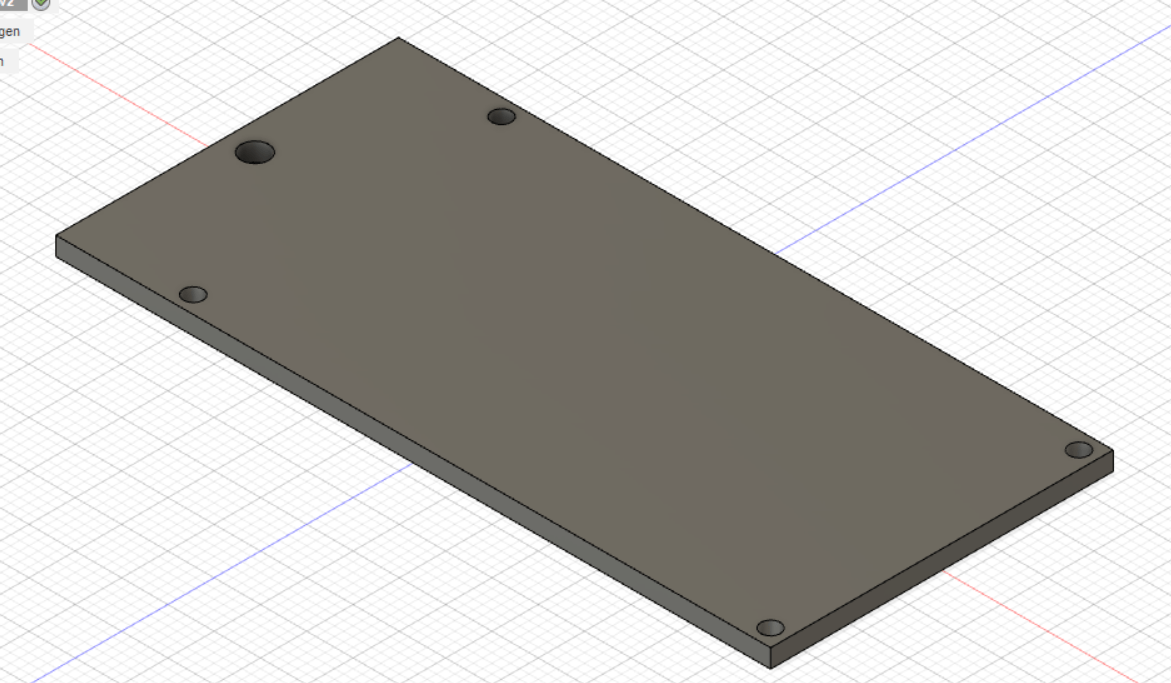
There is not much you can do wrong when printing a cover. You just have to make sure that your filament has a dark colour with lots of pigments. Just so that it gets dark in the nest with the cover.
Printing time: 4h
A handle to lift the cover is recommended!!
Download

There is not much you can do wrong when printing a cover. You just have to make sure that your filament has a dark colour with lots of pigments. Just so that it gets dark in the nest with the cover.
Download


There is not much you can do wrong when printing a cover. You just have to make sure that your filament has a dark colour with lots of pigments. Just so that it gets dark in the nest with the cover.
Thickness: 1,5mm
If it is still too bright you will find a thick version below.
Download

There is not much you can do wrong when printing a cover. You just have to make sure that your filament has a dark colour with lots of pigments. Just so that it gets dark in the nest with the cover.
Thickness: 1,5mm
Real printing time : 3:30h


Download
There is not much you can do wrong when printing a cover. You just have to make sure that your filament has a dark colour with lots of pigments. Just so that it gets dark in the nest with the cover.
Thickness: 1,9mm
Download

 There is not much you can do wrong when printing a cover handle. It is best to glue the handle with hot glue or a glue compatible with the filament. Or directly with hot filament.
Printing time: 5 min.
Download
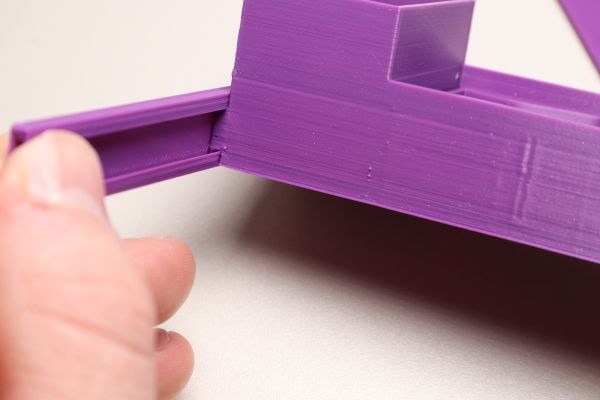
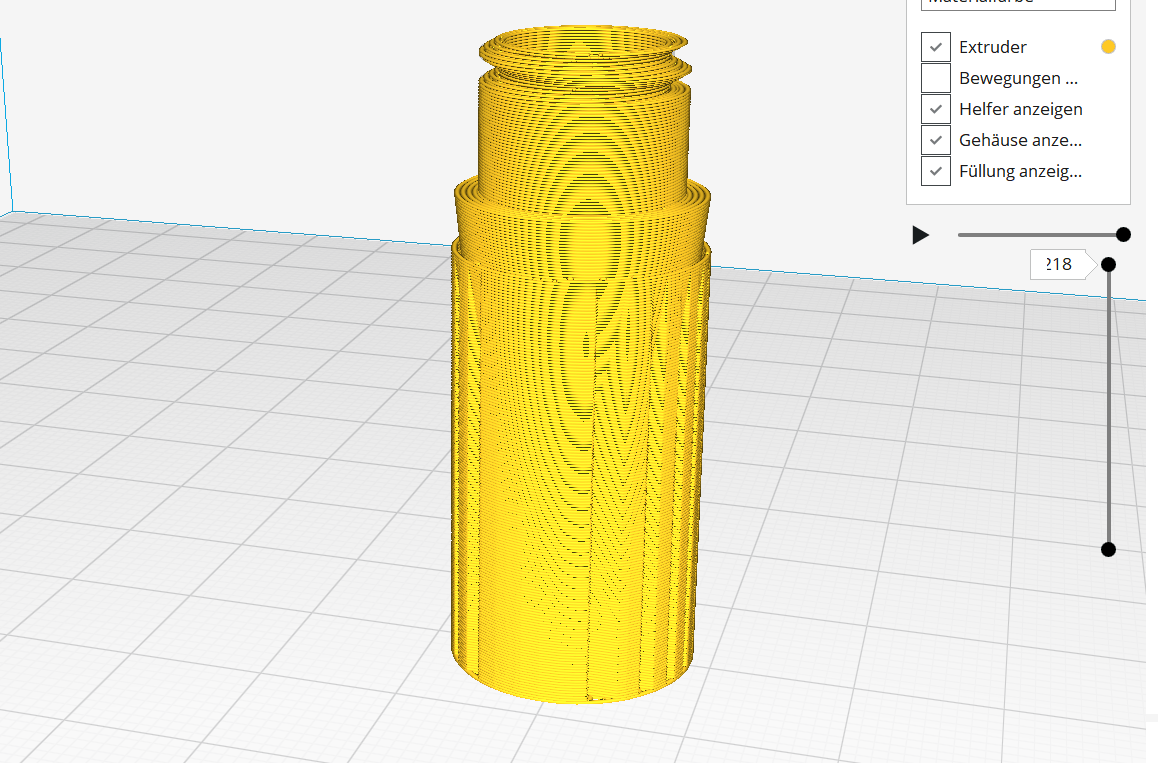
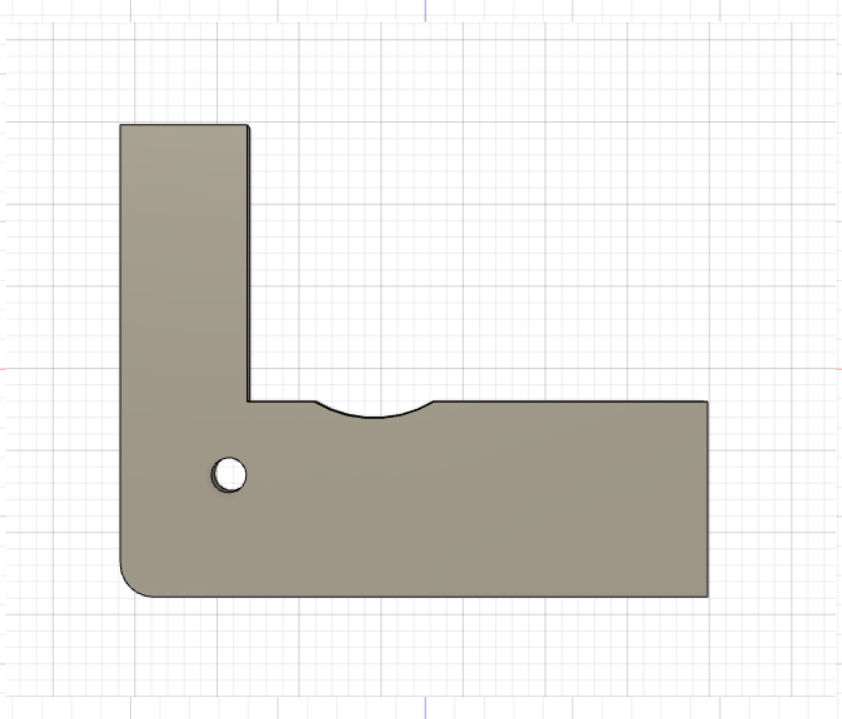
ant stairs for v2 nest
With the ant stairs it is important that everything holds well and the parts fit together perfectly. But when you have printed everything it looks really cool. You can get inspiration here. (german video)
The print parameters are similar to the others of, for example, the adapters of the nest.
Antstairs-middle:
printing Time: 26 min.

Antstairs-down:
printing Time: 23 min.
Antstairs-middleconnector:
printing Time: 26 min.
Antstairs-up:
printing Time: 20 min.

Antstairs-screw:
printing Time: 14 min.
Download
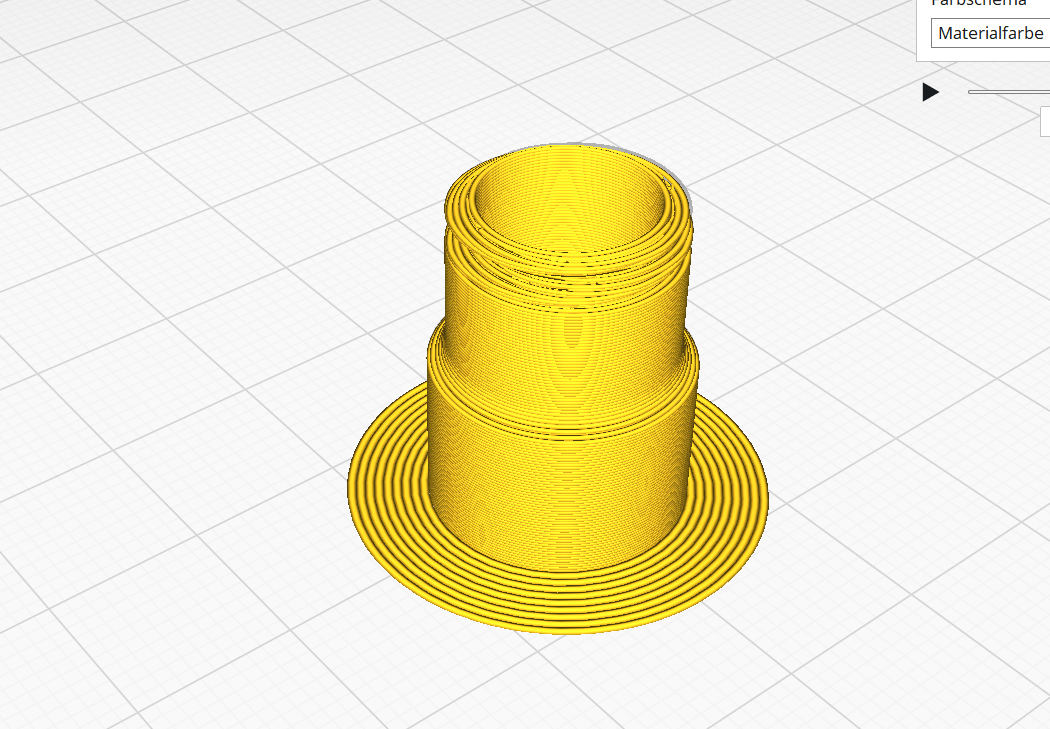
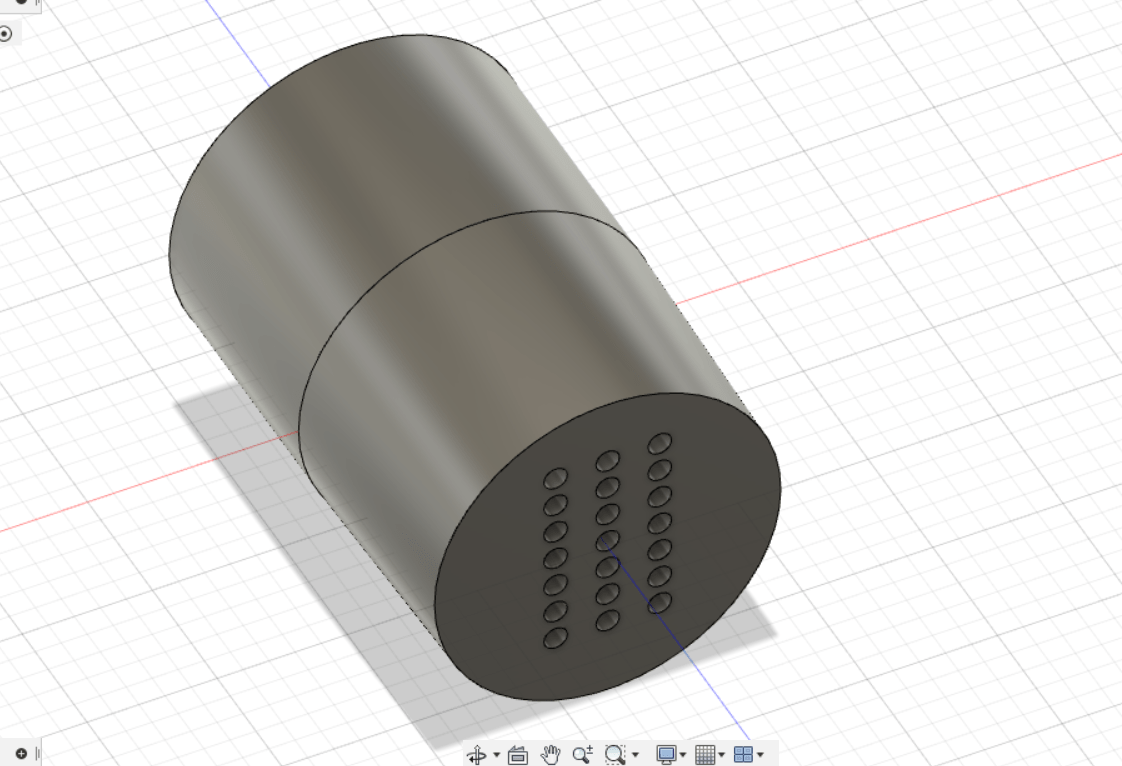
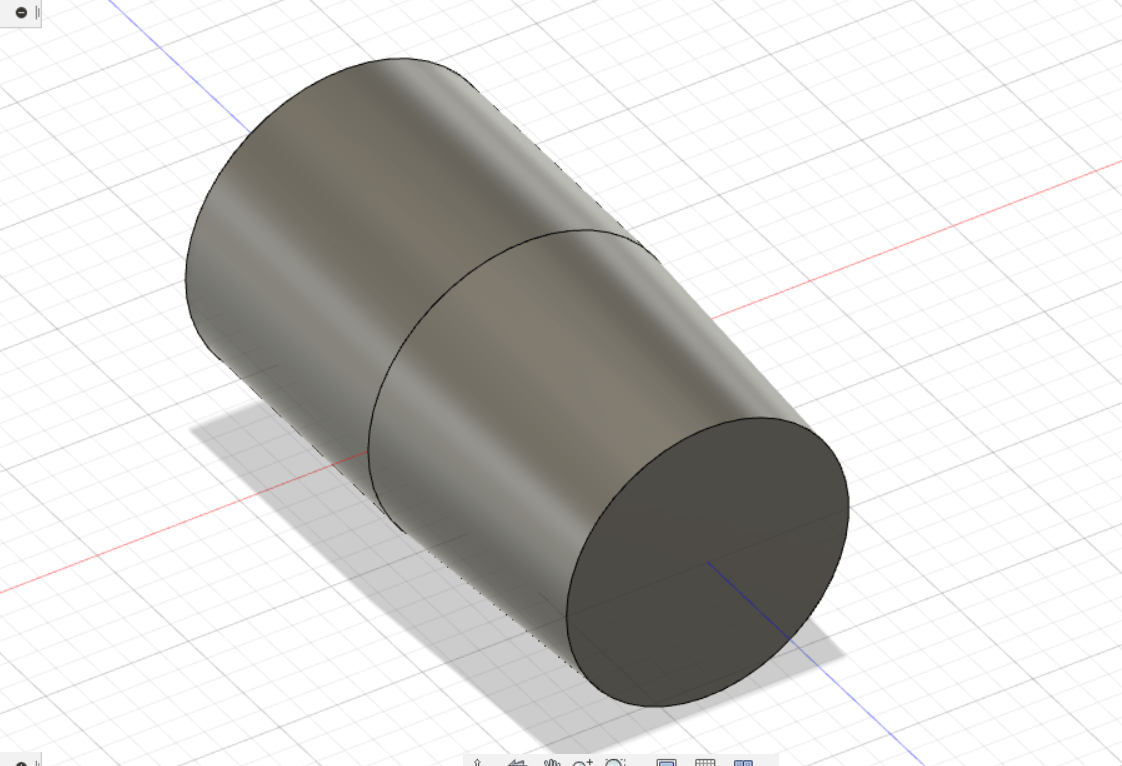
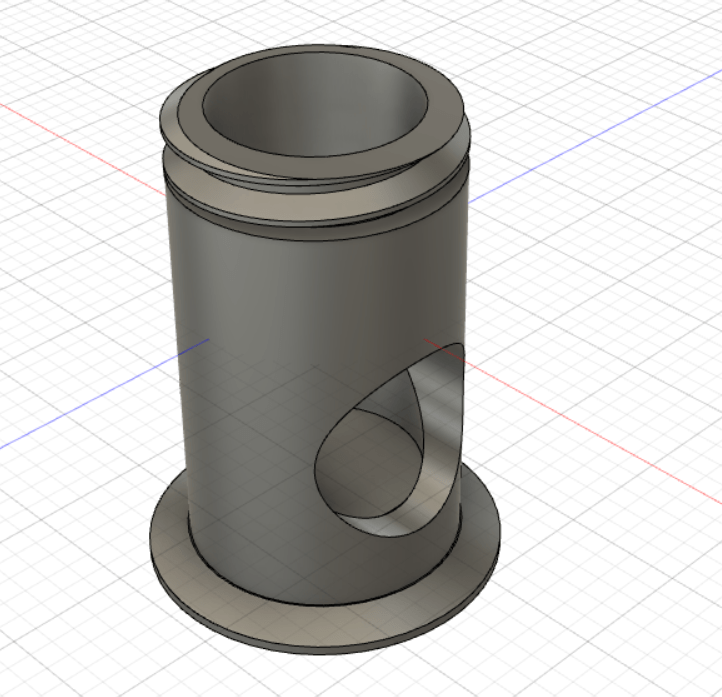
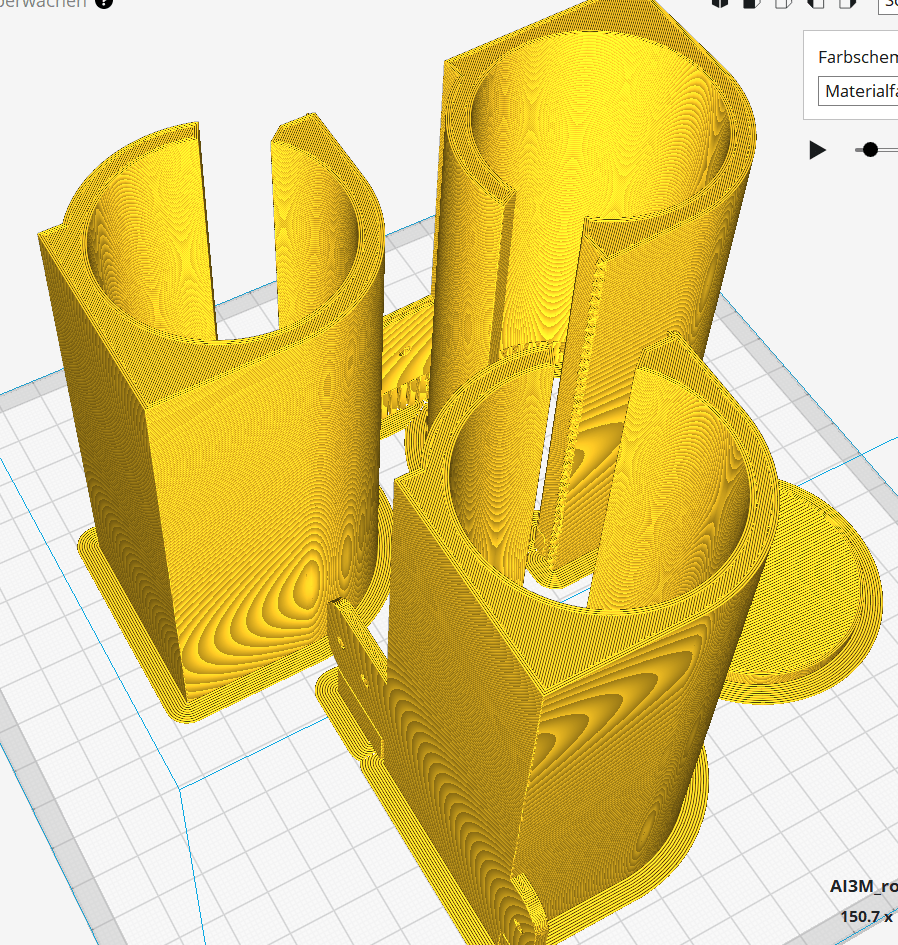
ant pipe connector for nests
The tube connectors are specially designed for short tube connection or test tube connection.
Due to their size they are rather bulky and only intended for moving ants.
Here it is very important that you keep the parameters, otherwise it is possible that the component will detach from the bed.
Connector 1:


Connector 2:


Download
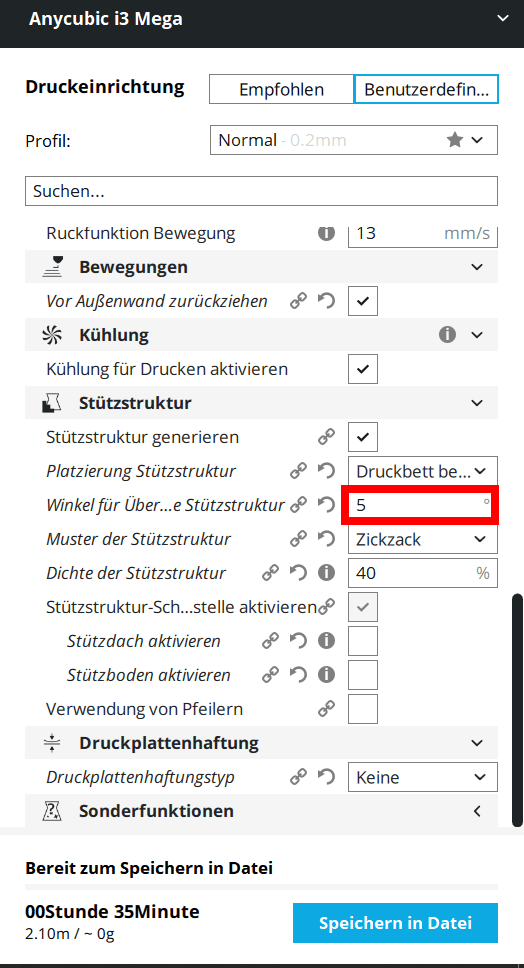
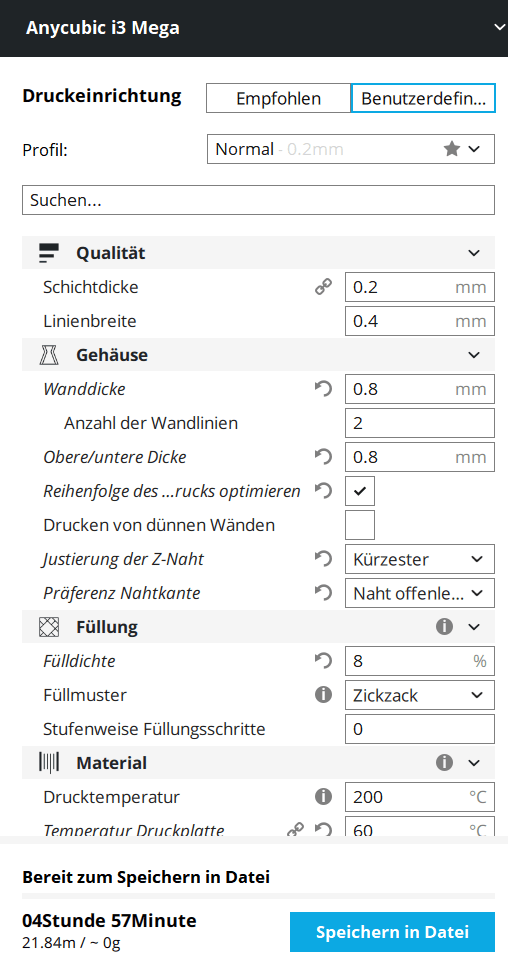
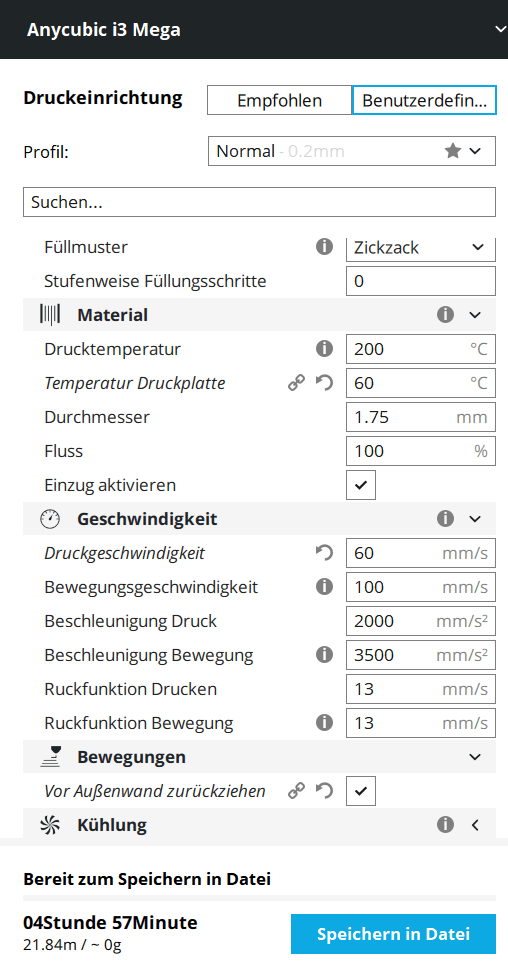
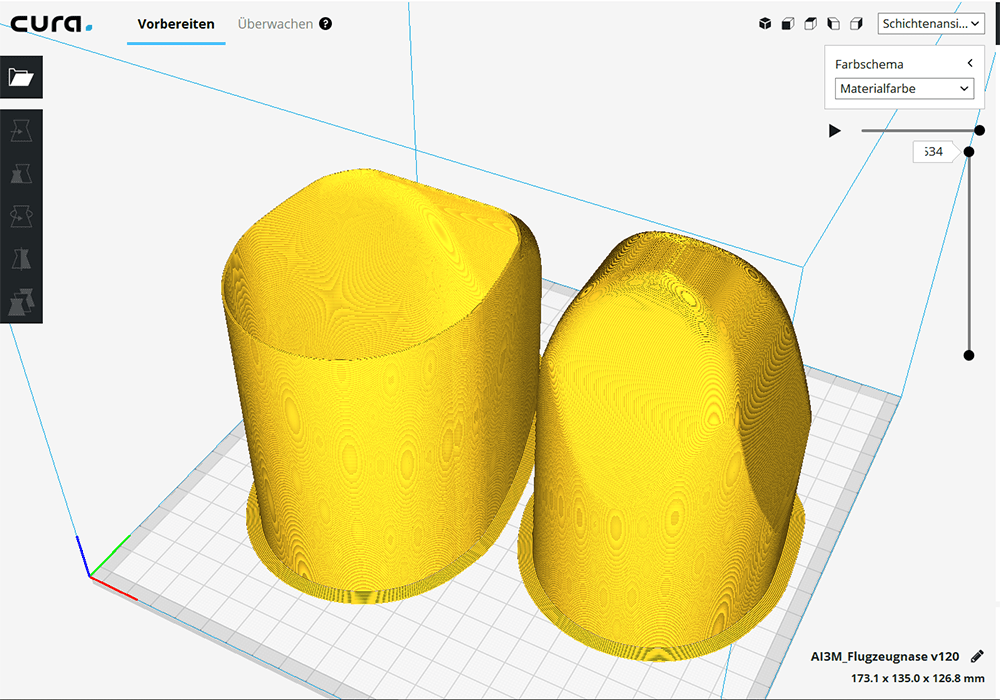
rc plane
You can find the contribution to this title here.
Printing parameters:

Download
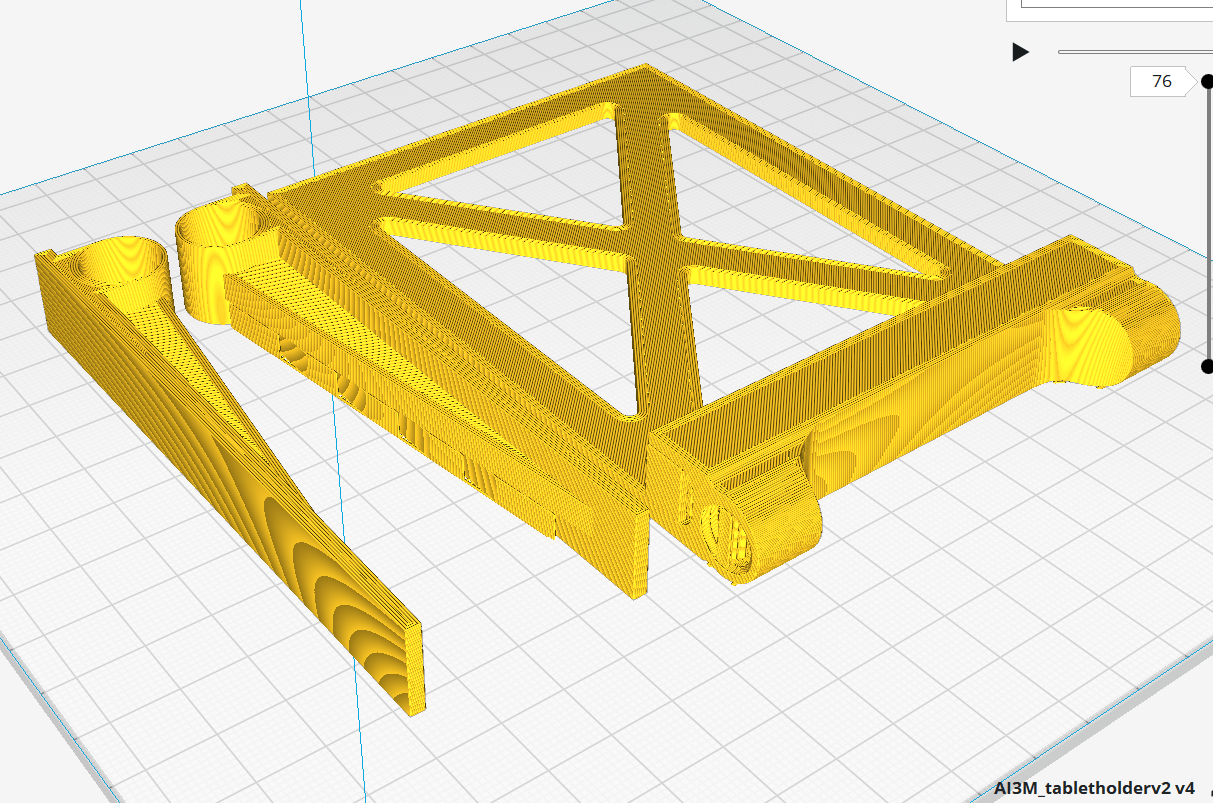
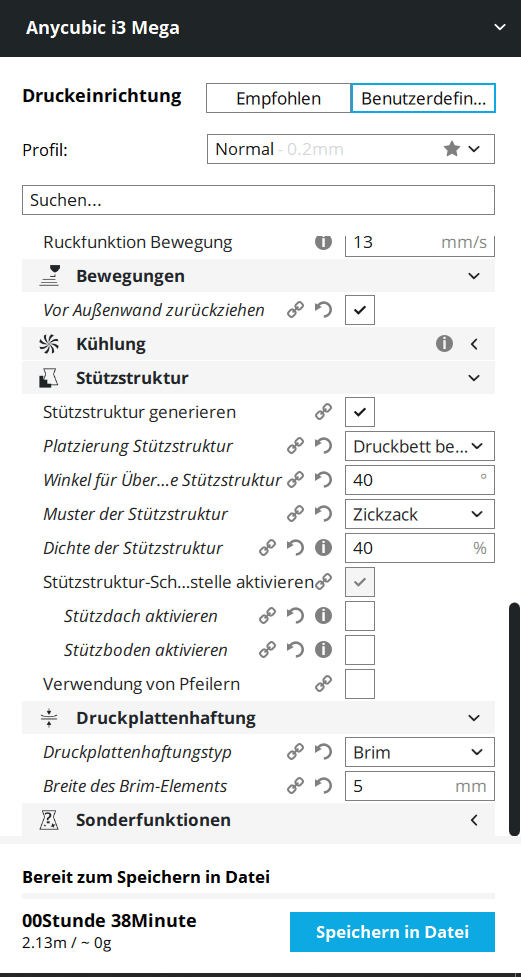
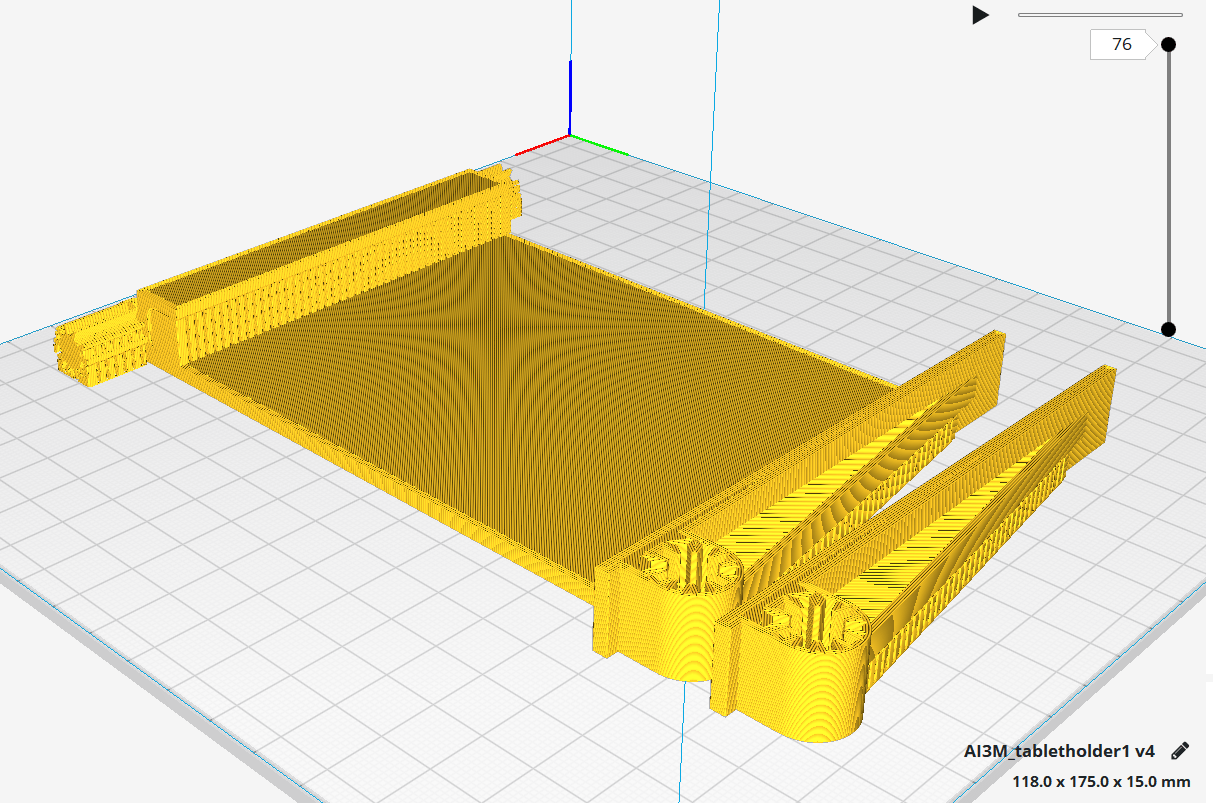
tablet holder
You can find the contribution to this title here.
Printing parameters:
Version 1:


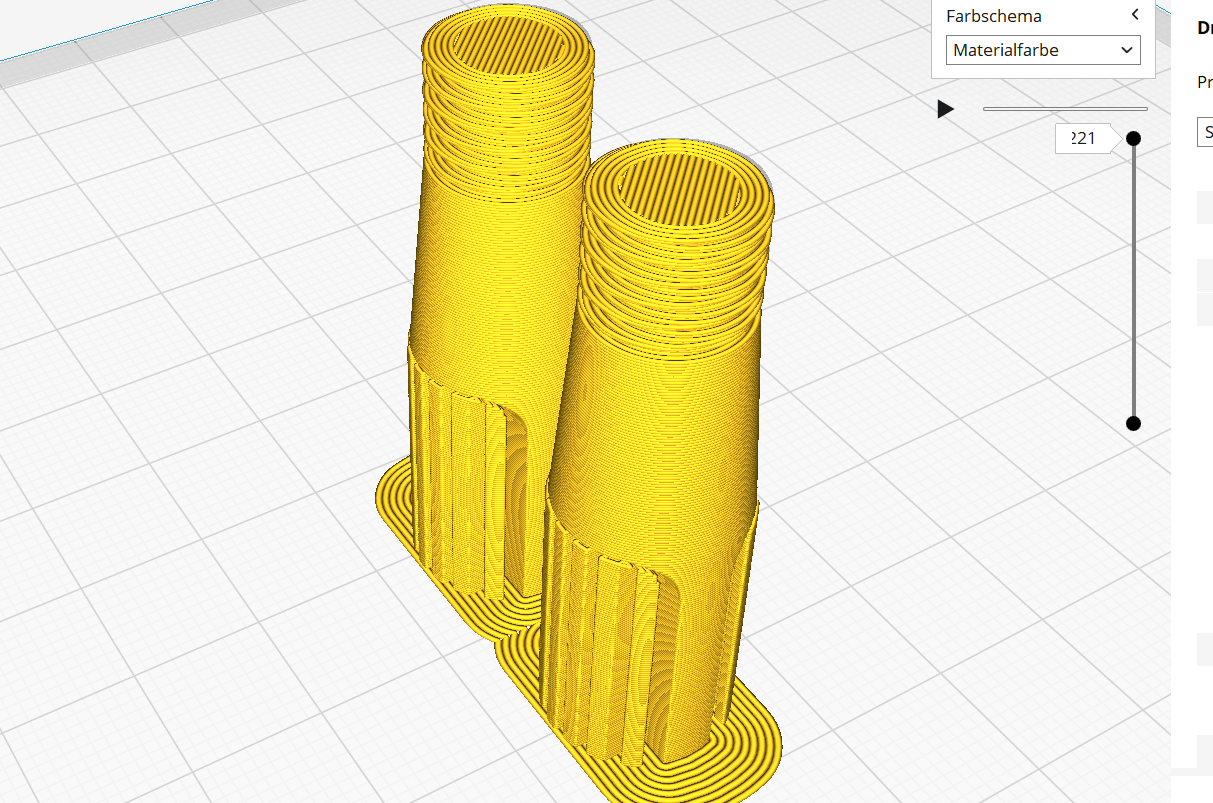


Version 1 (larger):
This tablet holder is reinforced at the thread and the legs are slightly longer. The printing time without the 2 screws is about 5 h 17min.
The screws are printed exactly as above (the same).(+45min printing time)


Version 2:


Version 1
Download (stl)
Version 2
Download (stl)
Version 2 larger
Download (stl)
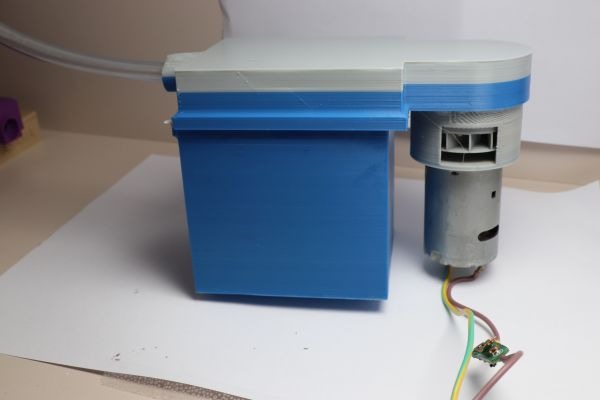
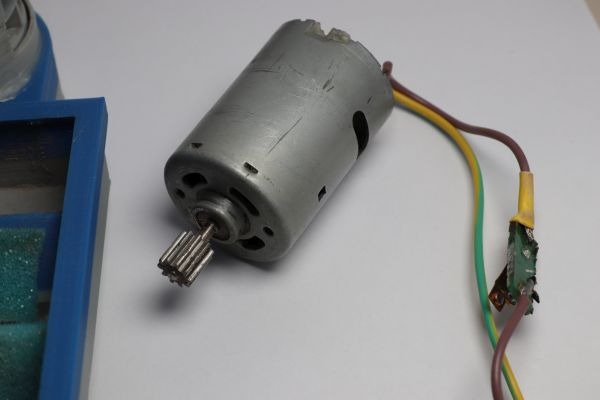
ant vacuum cleaner

Video in German: here
This vacuum cleaner should help to catch single escaped ants!
Depending on the engine you can take an s2 lipo or you can also take an s3 lipo.
My engine is this one: (no paid advertising)
To get the vacuum cleaner really airtight I use some Vasiline. On the walls of the box you can also put some protection against ants.
Box:
To get the hole (to connect with the nest) tight I use a nest plug. You will find it at the top under all adapters.


Flat cover:
The hole in the middle of the lid can be glued again with a metal grid. The hole is used to ventilate the ants. The lid was built to transport the ants and can be slid on after removing the “normal lid”.

Normal cover:
Angle for support structure: not under 70°
Do not forget to remove the support structure.


Engine holder:
The motor holder is attached to the cover with some glue.

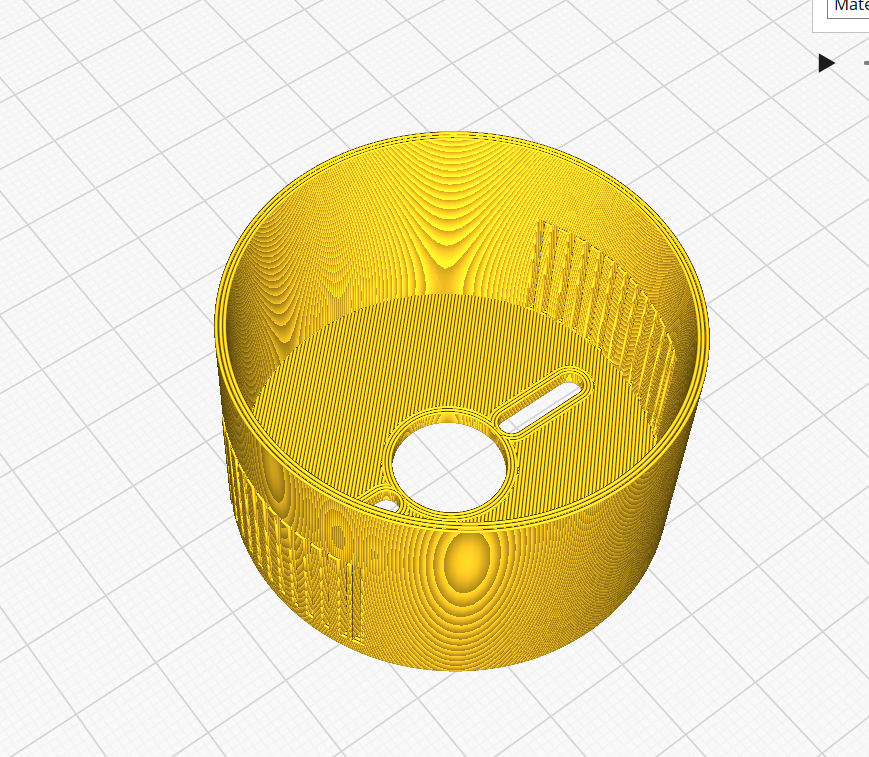
Fan:
Support structure: 20%
It can be that the gear wheel does not fit completely, then simply write me again and I will take care of it.


Fan2: (better verison)
no support and faster to print:D


The pipe only needs to be glued in
all normal files
Download (stl)
Fan 2 and pipe
Download (stl)
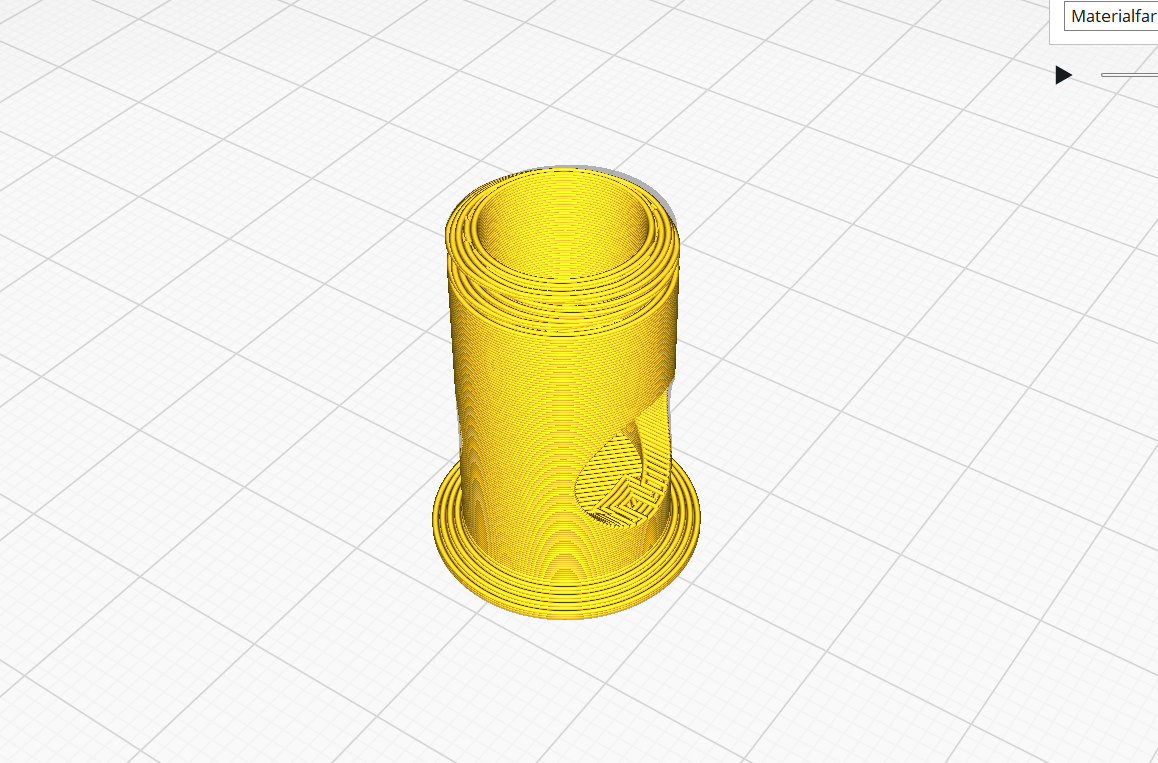
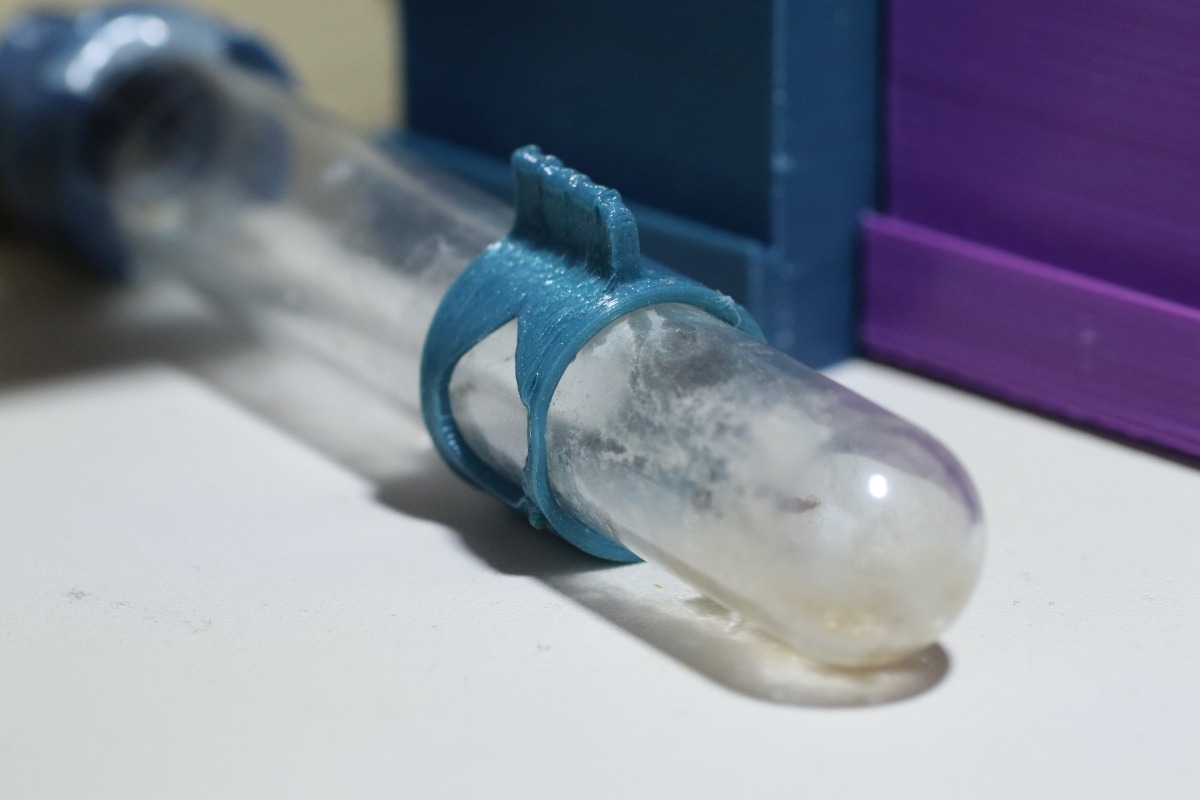
easy feed (for test tubes)
This ring is designed to close the hole in a test tube. To do this, you have to drill a hole in the right plastic test tube. This hole should be 10mm in diameter.
If the ring does not fit, you can adjust it in your cutting program(for your 3D printer) by scaling. It should be easy to move, but not slip off by itself.
I always bought these test tubes: Click here
These have a diameter of: 16,4-16,7mm
You can see it in my YT-video,too… Click here. (german video)


This is what it looks like in practice.
Download (stl)
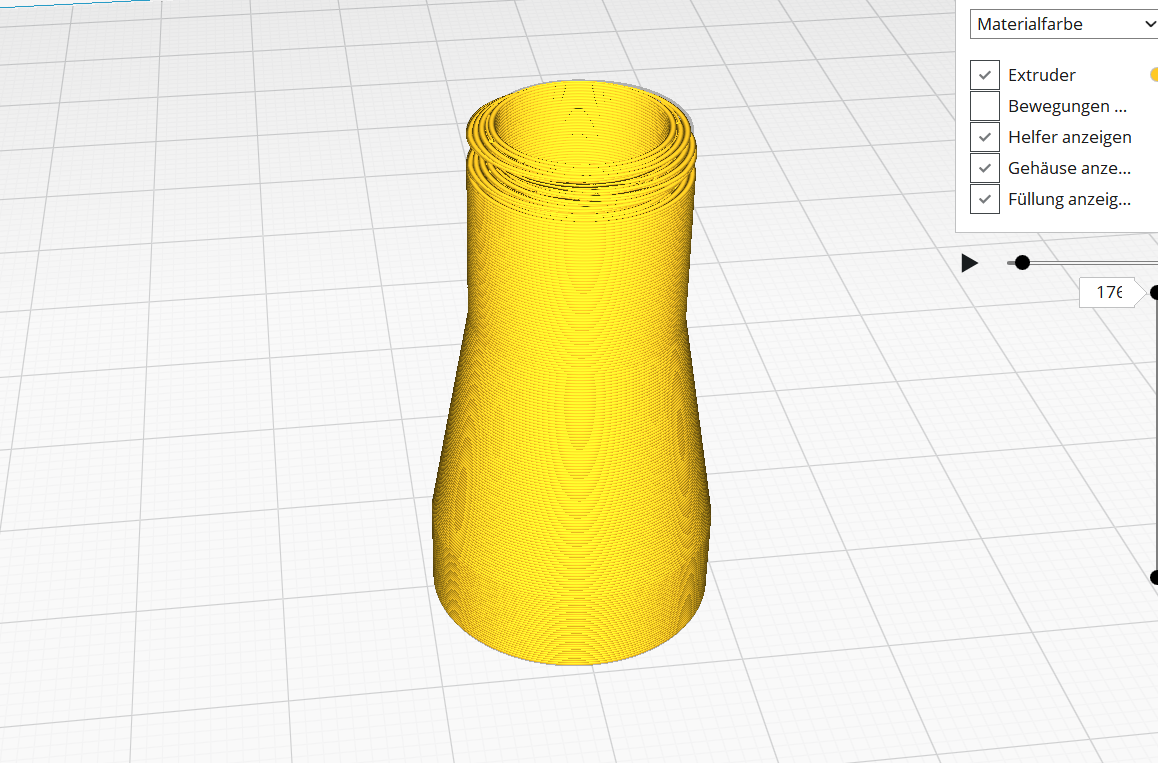
kitchen roll holder


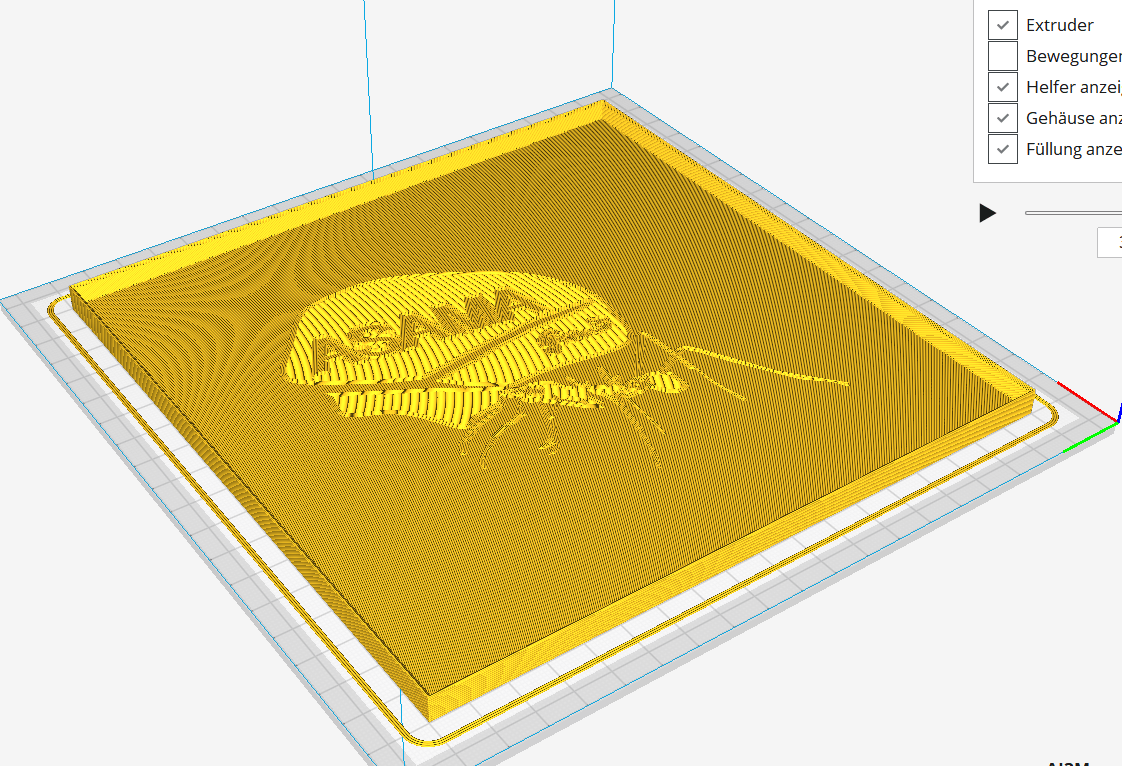
Make sure you have the correct angle of the support, otherwise it will always print support structure in between. This takes time and does not look good.
You can find the pictures and the report here.
Download (stl)
information about accessories
glas between the cover and the nest
Normal version:
Solenopsis version:
My normal 2,5-3mm discs for the new GEN3 nests, but you can also use thinner discs. I recommend you to cut them with a cutter and not by hand. PMMA is very difficult to machine without cracking or scratching the disc. Even drilling holes is difficult and there are often cracks on the exit side of the drill. (Tip: use water and first pre-drill with a smaller drill, use a high speed)
I machine my discs with a Stepcraft cutter.
My milling parameters for PMMA are:
for a 2mm milling cutter (milling cutter with one cutting edge)
9000rpm, 400mm/min Cutspeed and max. 1,5mm immersion depth
normal Version
Download (stl)
Download (pdf)
solenopsis Version
Download (stl)
Download (pdf)
My normal 2mm discs for the v2 nests, but you can also use 1mm thickness. I recommend you to cut them with a cutter and not by hand. PMMA is very difficult to machine without cracking or scratching the disc. Even drilling holes is difficult and there are often cracks on the exit side of the drill.
I machine my discs with a Stepcraft cutter.
My milling parameters for PMMA are:
for a 2mm milling cutter (milling cutter with one cutting edge)
9000rpm, 400mm/min Cutspeed and max. 1,5mm immersion depth
Download (stl)
Download (pdf)
My normal 2mm discs for the v2 nests, but you can also use 1mm thickness. I recommend you to cut them with a cutter and not by hand. PMMA is very difficult to machine without cracking or scratching the disc. Even drilling holes is difficult and there are often cracks on the exit side of the drill.
I machine my discs with a Stepcraft cutter.
Here again slightly changed. To feed small ant colonies in the nest, there is a hole which makes it possible to get into the middle of the nest. Through this opening you can also do some small cleanings.
Only the 2 additional discs, which are milled out automatically, have to be glued to each other.You can see this in the picture above, on the lower left side.
My milling parameters for PMMA are:
for a 2mm milling cutter (milling cutter with one cutting edge)
9000rpm, 400mm/min Cutspeed and max. 1,5mm immersion depth
Download (stl)
Download (pdf)
 (simple version)
 (normal version)
My normal 2mm discs for the v2 nests, but you can also use 1mm thickness. I recommend you to cut them with a cutter and not by hand. PMMA is very difficult to machine without cracking or scratching the disc. Even drilling holes is difficult and there are often cracks on the exit side of the drill.
I machine my discs with a Stepcraft cutter.
My milling parameters for PMMA are:
for a 2mm milling cutter (milling cutter with one cutting edge)
9000rpm, 400mm/min Cutspeed and max. 1,5mm immersion depth
normal Version
Download (stl)
Download (pdf)
simple Version
Download (stl)
Download (pdf)
My normal 2mm discs for the Gen2 nests, but you can also use 1mm thickness. I recommend you to cut them with a cutter and not by hand. PMMA is very difficult to machine without cracking or scratching the disc. Even drilling holes is difficult and there are often cracks on the exit side of the drill.
I machine my discs with a Stepcraft cutter.
My milling parameters for PMMA are:
for a 2mm milling cutter (milling cutter with one cutting edge)
9000rpm, 400mm/min Cutspeed and max. 1,5mm immersion depth
Download (stl)
Download (pdf)

My normal 2mm discs for the v2 nests, but you can also use 1mm thickness. I recommend you to cut them with a cutter and not by hand. PMMA is very difficult to machine without cracking or scratching the disc. Even drilling holes is difficult and there are often cracks on the exit side of the drill.
I machine my discs with a Stepcraft cutter.
A special feature here is that the humidification system can always be changed or cleaned without going into its own nest.
Therefore one must manufacture here also 2 separate parts.
Here again slightly changed. To feed small ant colonies in the nest, there is a hole which makes it possible to get into the middle of the nest. Through this opening you can also do some small cleanings.
Only the 2 additional discs, which are milled out automatically, have to be glued to each other.You can see this in the picture above, on the lower left side.
My milling parameters for PMMA are:
for a 2mm milling cutter (milling cutter with one cutting edge)
9000rpm, 400mm/min Cutspeed and max. 1,5mm immersion depth
Download (stl)
Download (pdf)

My normal 2mm discs for the v2 nests, but you can also use 1mm thickness. I recommend you to cut them with a cutter and not by hand. PMMA is very difficult to machine without cracking or scratching the disc. Even drilling holes is difficult and there are often cracks on the exit side of the drill.
I machine my discs with a Stepcraft cutter.
My milling parameters for PMMA are:
for a 2mm milling cutter (milling cutter with one cutting edge)
9000rpm, 400mm/min Cutspeed and max. 1,5mm immersion depth
Download (stl)
Download (pdf)